How to Delete Clinic Invoices
Needing to remove an invoice? There are two places where you could do so:
- Via the Patient’s Record, or
- Via the Batch in Claiming Medical
Additionally, there are two use cases for deleting invoices:
- Deleting the entire invoice (all items held)
- Deleting a part of the invoice (1 or some items deleted, but not all)
Let’s take a closer look at both options and use cases.
Deleting through the Patient’s Record
Begin by opening the patient record of the patient in question and click on the Accounts button.

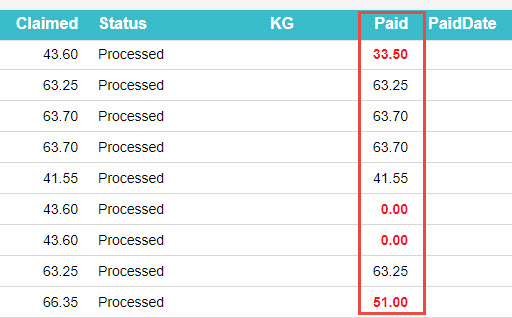
This button reveals a patient’s billing/ treatment history where each line is an invoice:
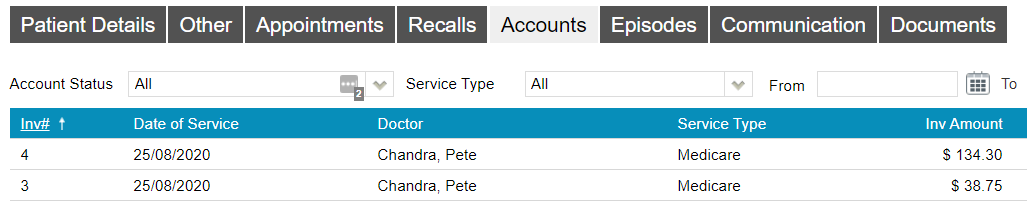
So from here, simply double click on the invoice you wish to delete.
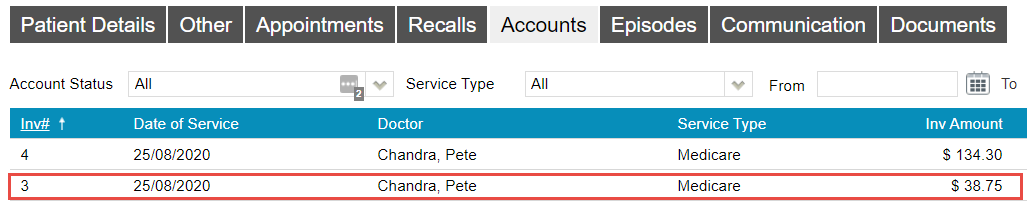
This will open up the invoice, revealing the item numbers inside.
From here, you may simply right click on the desired item and select delete, enter a reason, and hit OK to delete the item.
You may repeat this step for as many items as you need to delete.
Note: Deleting the final item in the invoice will effectively delete the entire invoice.
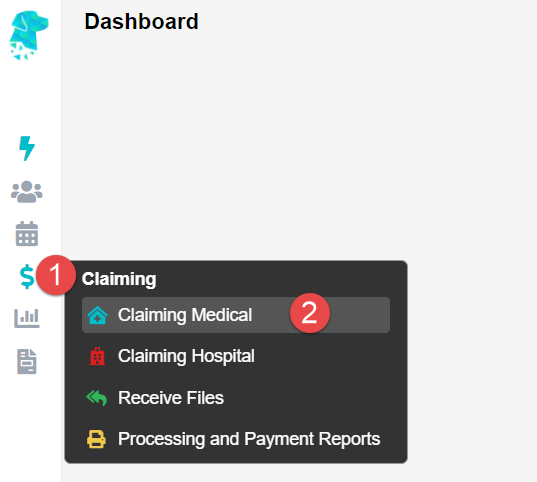
Alternatively, you can delete invoices from the Claiming Medical section of FYDO, found under the Claiming tab.
Deleting through the Claiming Medical
Place your mouse over the Medical tab ($ Sign) and select Claiming Medical.
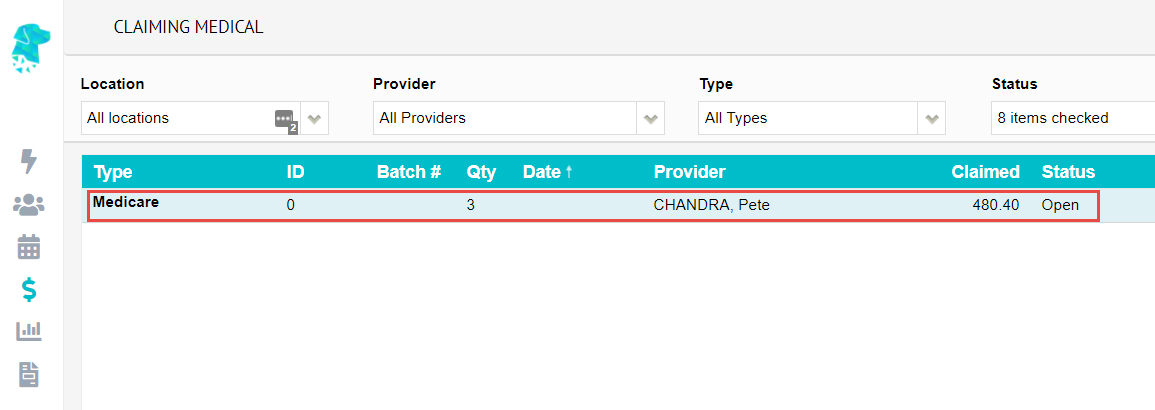
You will now see all your batches. So select the batch holding the invoice(s) you wish to delete.
This screen is where invoices created go. They go inside a batch that is then sent from this screen.
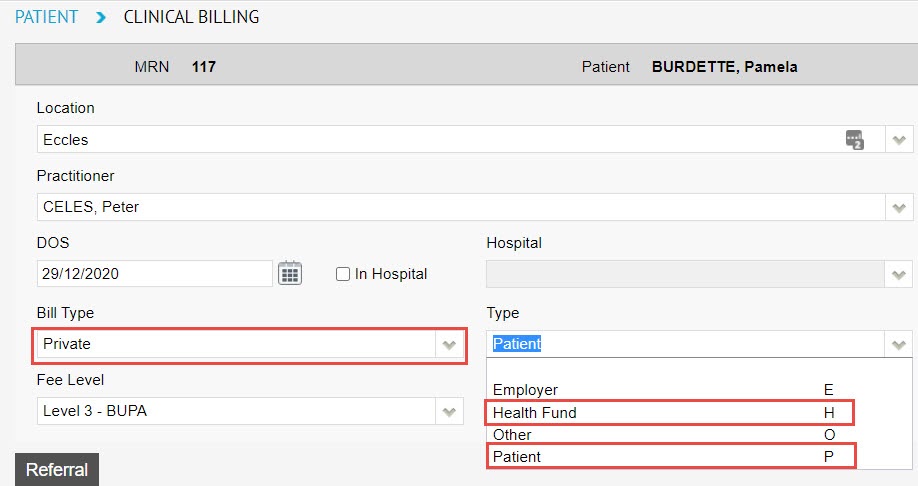
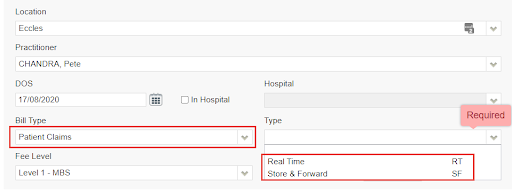
Note: this does not apply to Private invoices. These are invoices with the Bill Type set to Private in the billing screen.
So you may double click on the batch holding the desired invoice to be deleted.
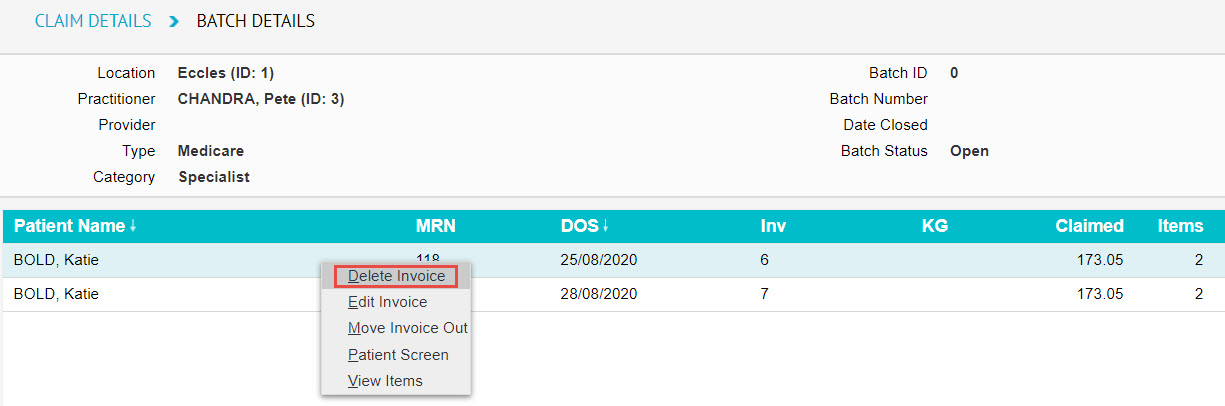
You will now see the invoice(s) inside the batch.
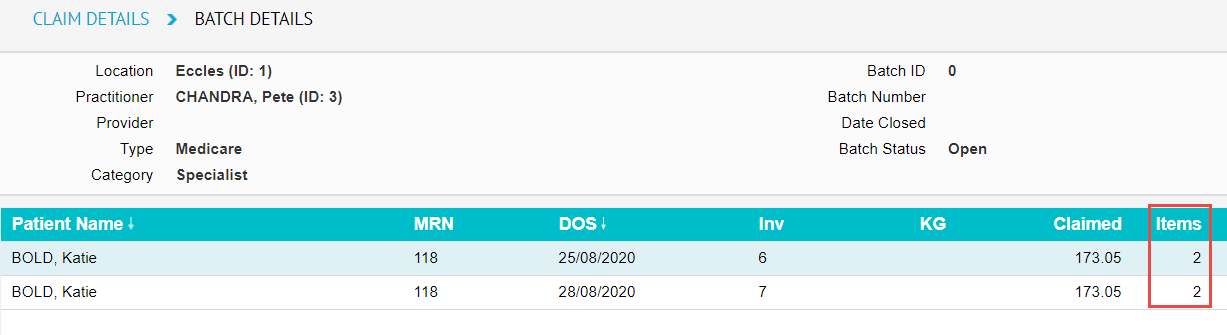
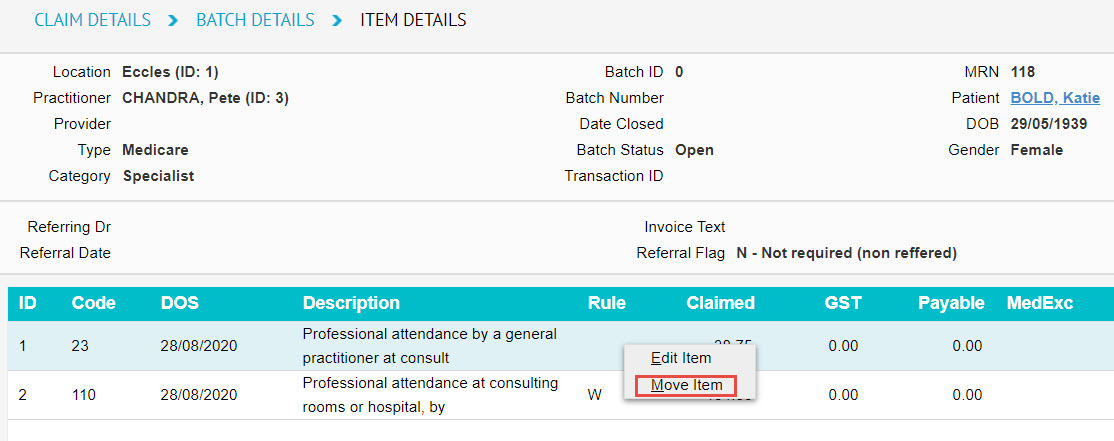
Import note: Pay attention to the number of items in the invoice in question.
- If you wish to delete all of the items within the invoice, simply right click on the invoice here, and select Delete Invoice
- Otherwise, if you wish to only delete a portion of the invoice (some items, but not all), simply double click on the invoice to open it up. Then right click on the items to be deleted and select Move Item