Maternity Hospital Admission Process
This page outlines the standard Fydo workflow for:
- Admitting maternity patients
- Registering newborns
- Entering Hospital in the Home (HITH) details where applicable
This ensures patient records, episodes, and downstream integrations (billing, reporting, data extracts) are accurate.
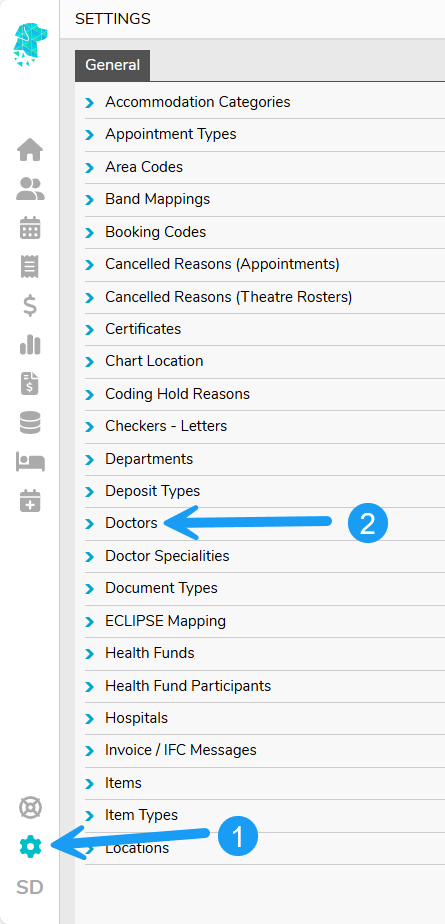
Maternity Patient Admission
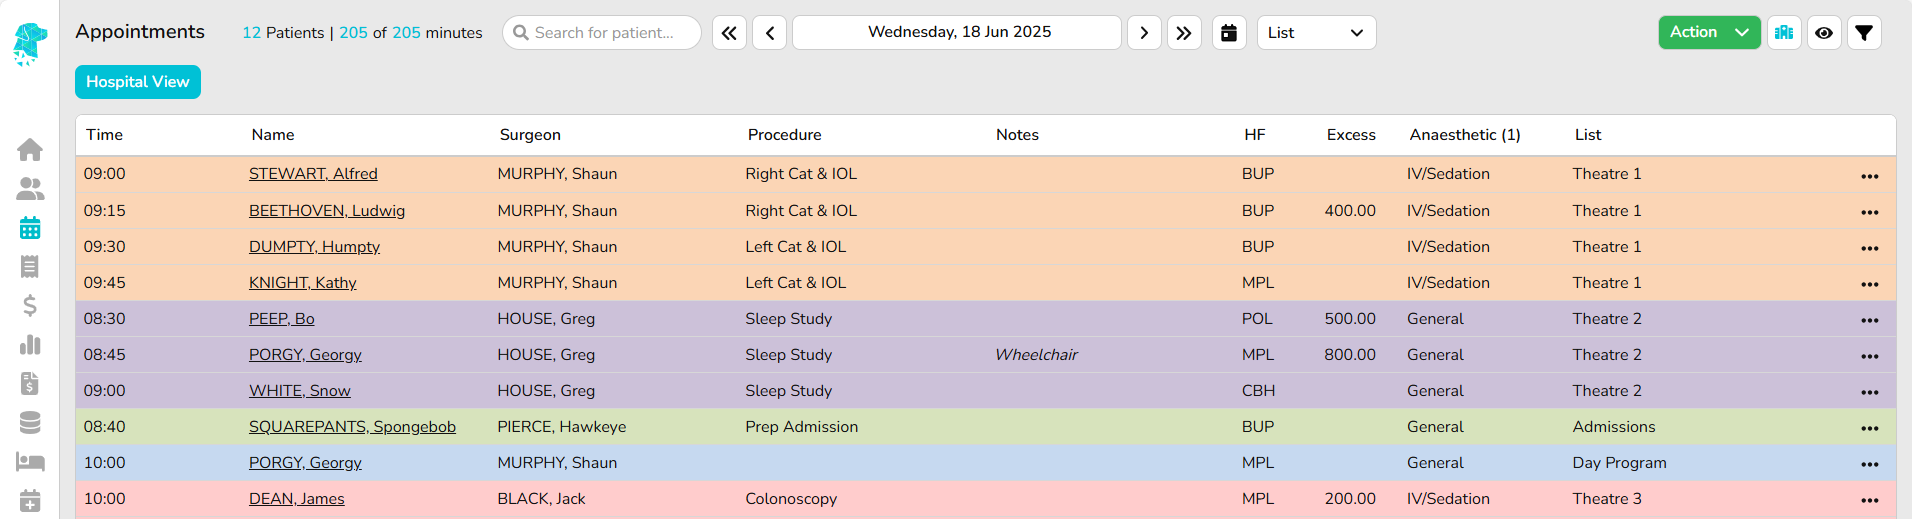
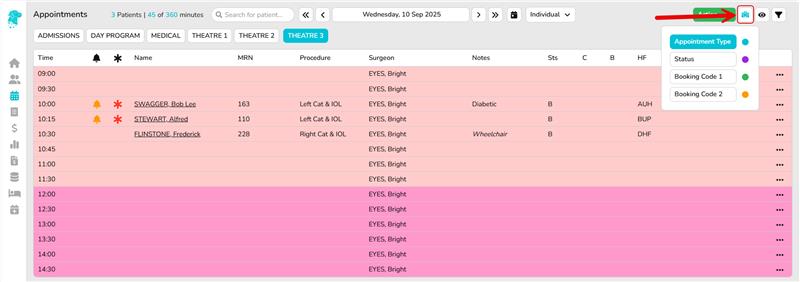
- Navigate to Appointment → Right-Click Menu → Make an Appointment
- Select the appropriate Patient Category & Accom Type
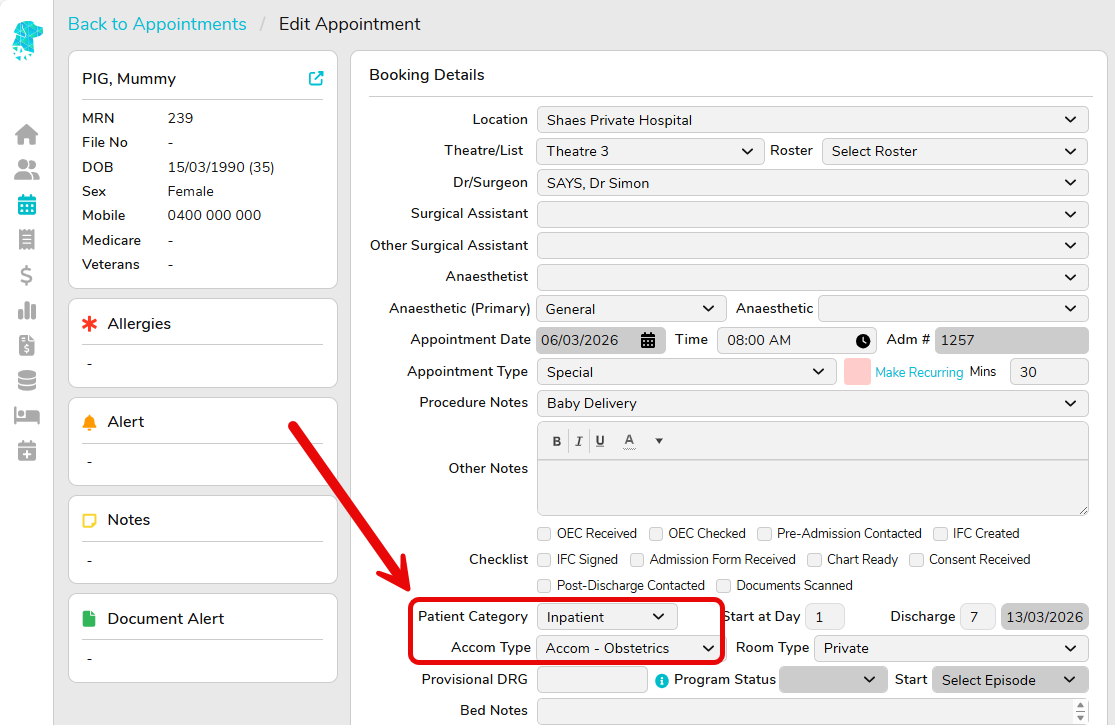
- Once the mother needs to be Admitted, this can be done in the usual matter:
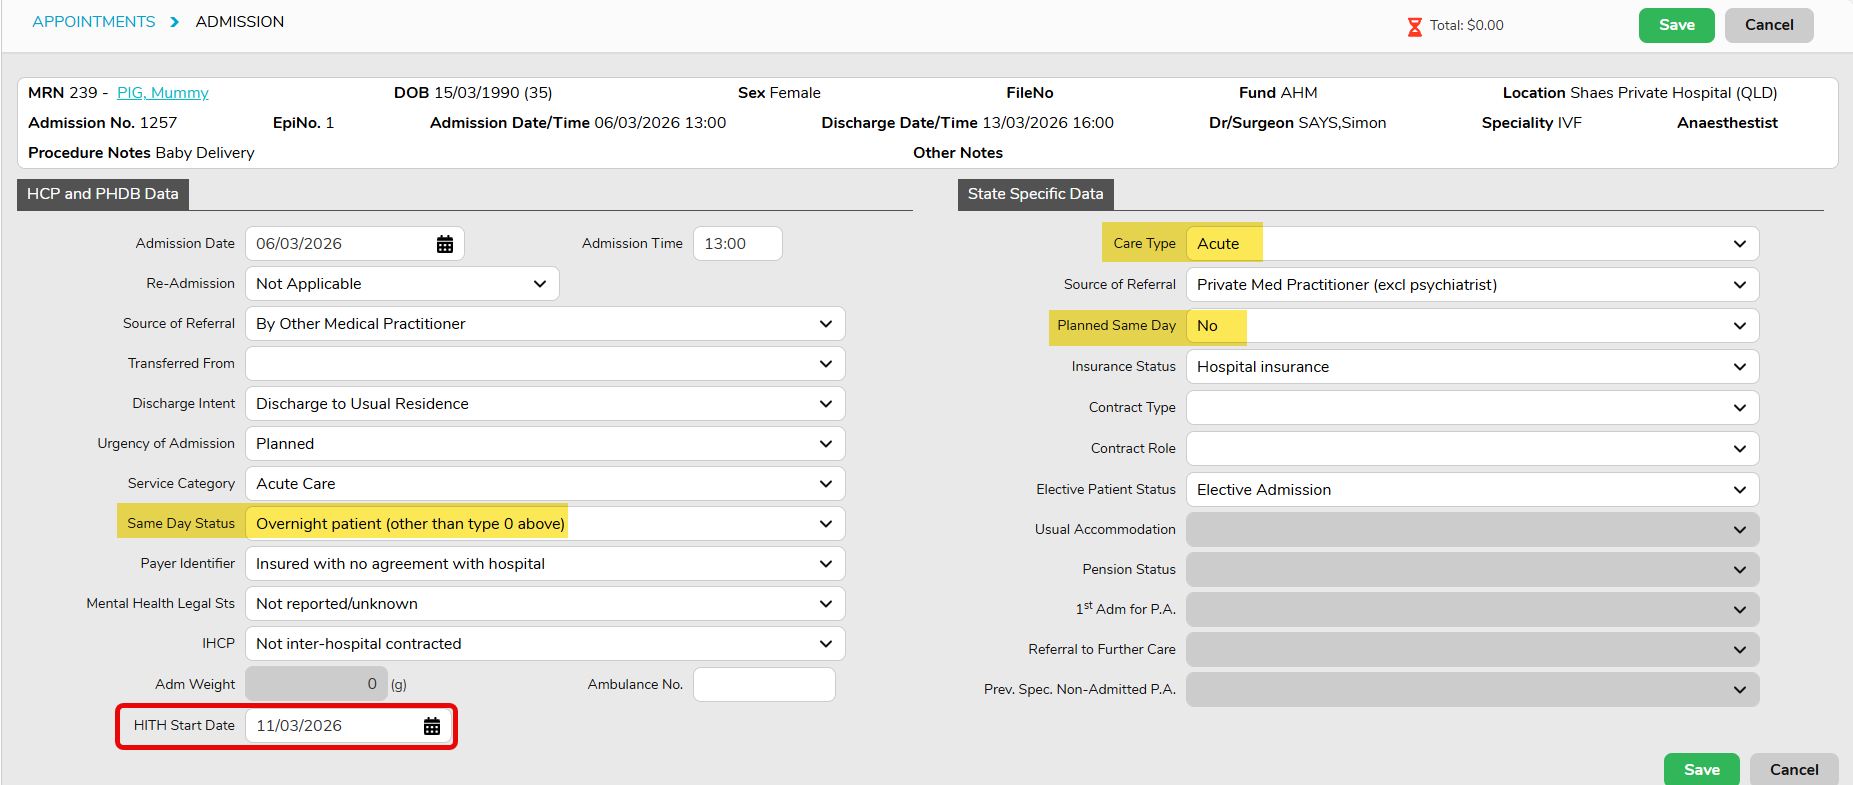
- Care type = Acute
- Other details same as overnight Acute
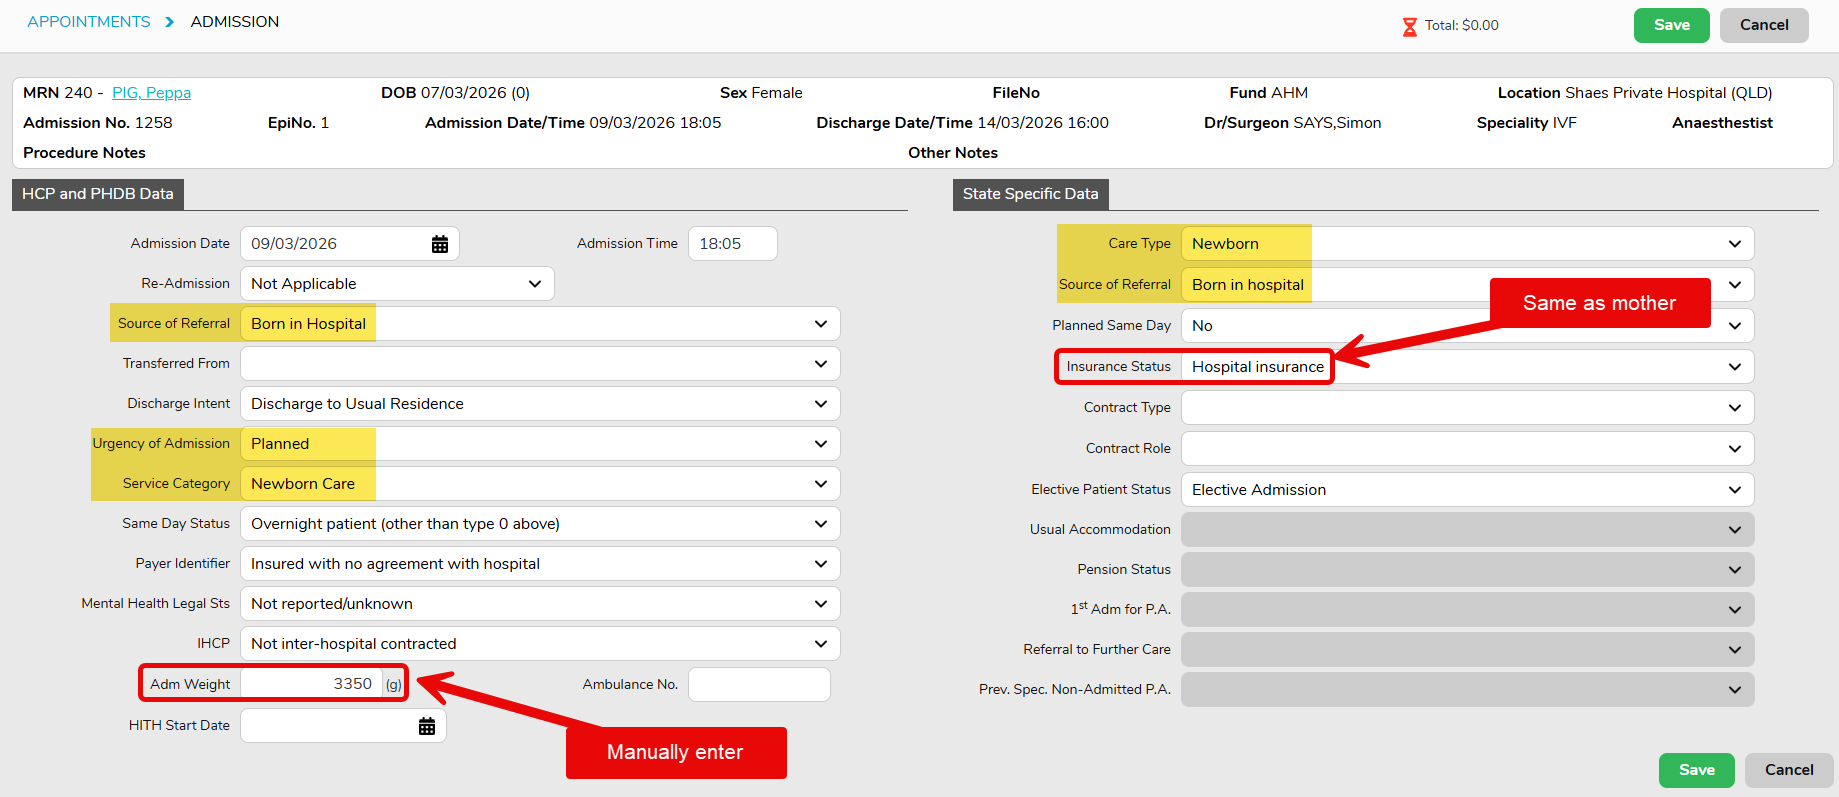
- 💡HITH Start Date – if patient is going to receive Hospital In The Home care during the episode, HITH start date can be entered after patient is admitted.
4. Allocate a Bed to the mother – Appointment → Right-Click Menu → Inpatient → Bed History
Registering Newborns
Newborns must be registered as separate patient records and linked to the mother.
Step 1: Create Newborn Patient Record and admission
- From the mother’s appointment, Right Click > add Newborn (or create a new patient manually)

- Enter newborn details:
- Temporary name (e.g. Baby of Jane Smith which can be updated later once the legal name is confirmed)
- Date and time of birth
- Gender
- Most of the details will be inherited from Mother, for example address, GP, Fund etc.
- NOK/Emergency Contact relationship must be reviewed and updated as FYDO blank fills the relationship after copying Mother’s details
- After the newborn patient details are saved, FYDO will prompt the newborn admission screen. Enter all newborn admission details.
📝Currently only QLD facilities will have below highlighted fields pre-populated for newborn admissions; other state will need to manually assign the relevant values.
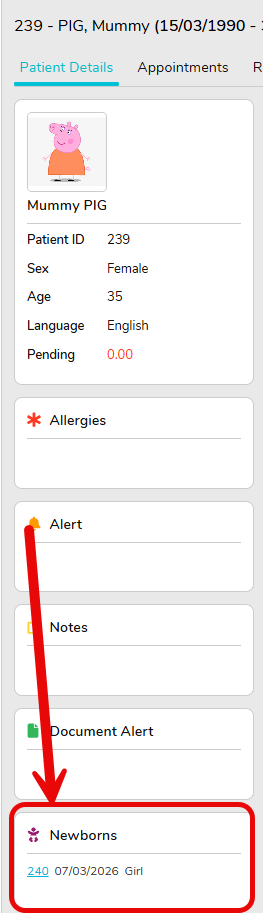
Step 2: Link Newborn to Mother
- This will be linked automatically if baby is registered using the Add Newborn option
From Baby’s record, Mother name is listed and hyperlink to mother’s patient details page:

From Mother’s record, child/ren’s details are also listed:
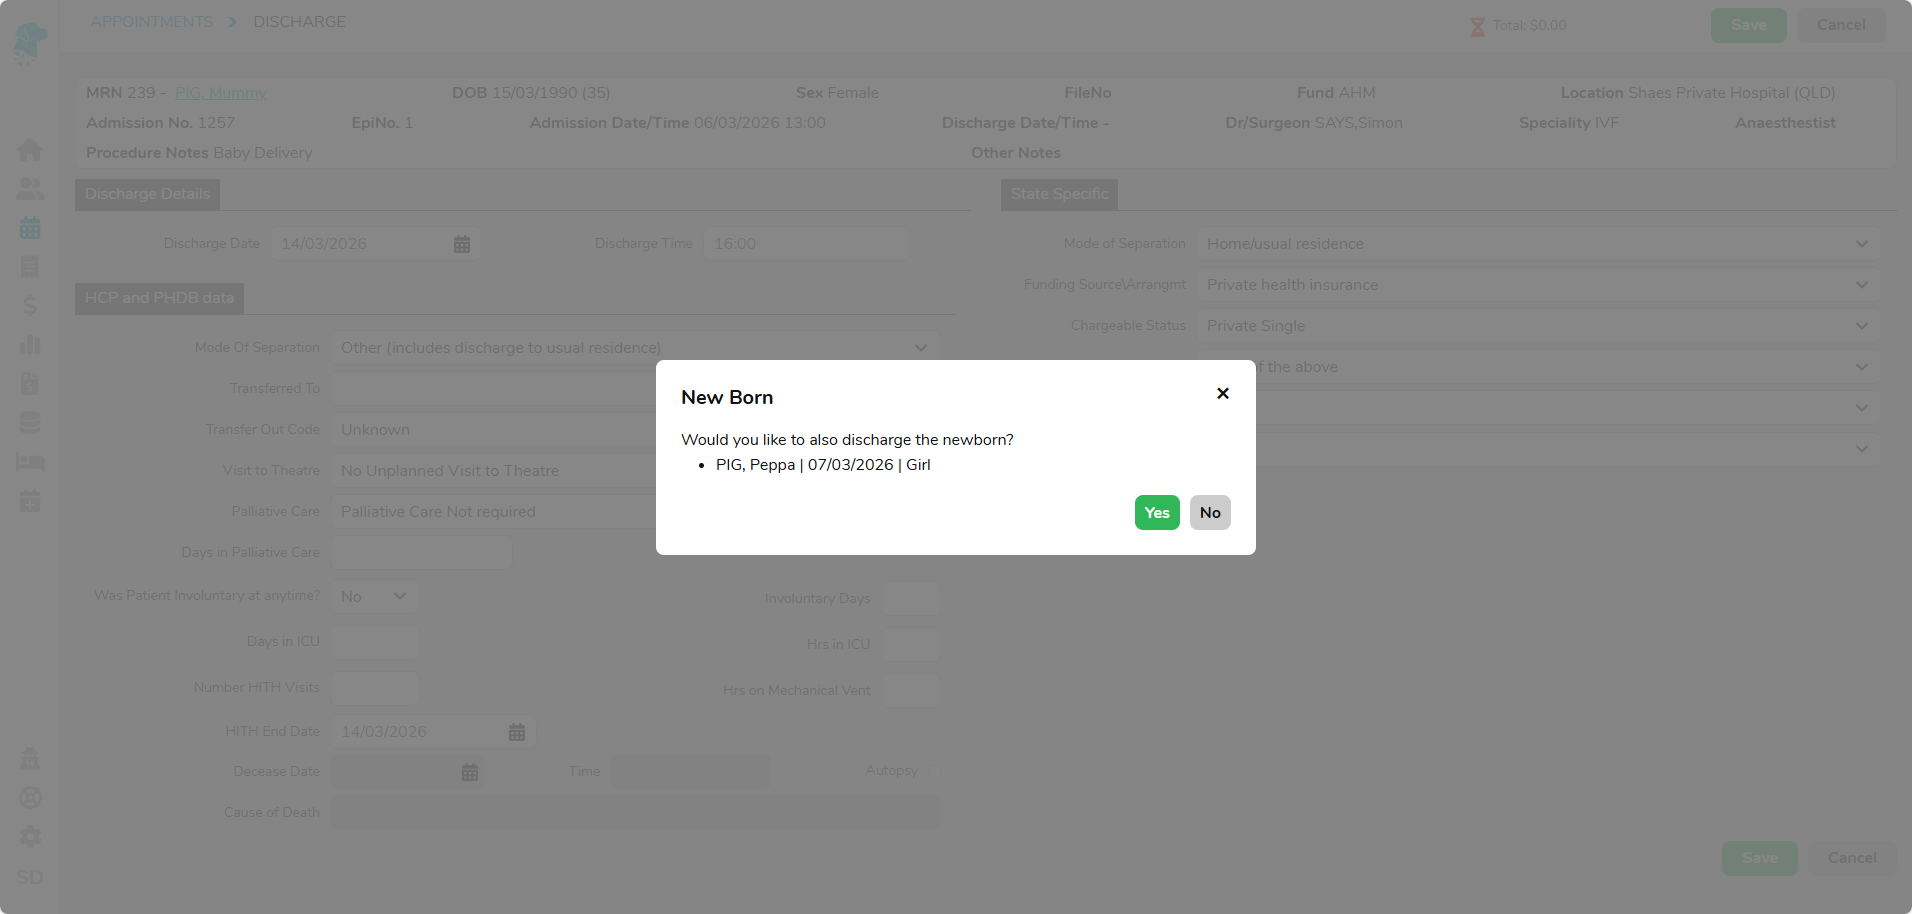
Discharge Mother and Newborns
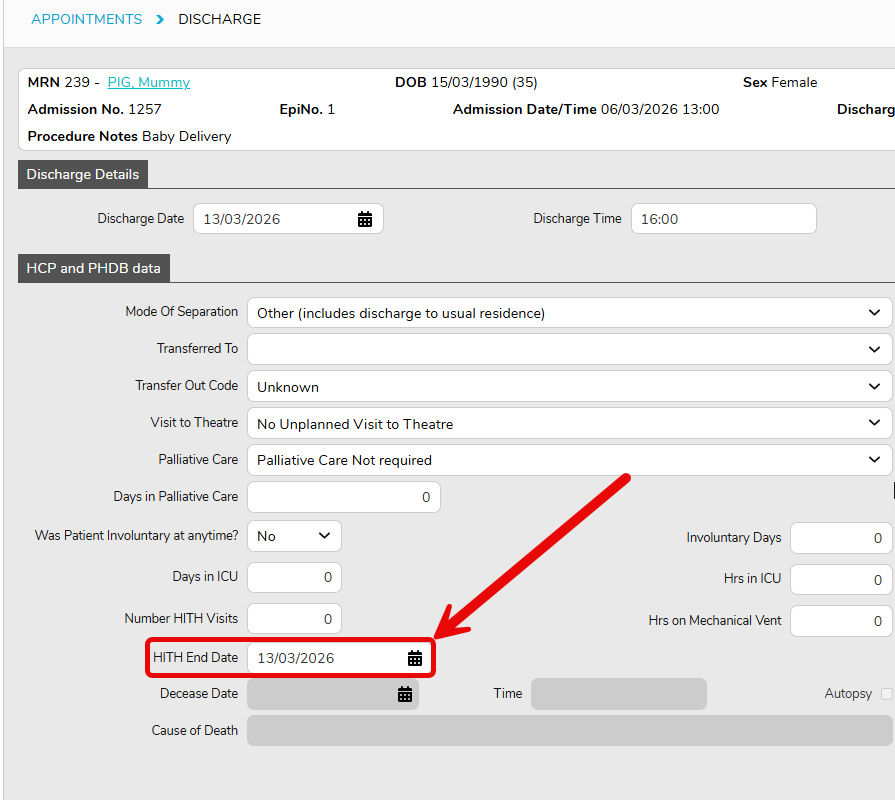
Always Discharge from the Mothers Episode
- Appointments Screen → select Mothers episode →Right-Click Menu → Discharge
📝 If HITH start date is entered on admission screen, HITH end date will auto default to Discharge date, can be updated if needed
- FYDO will prompt a screen to also discharge the baby