Receipting for an Episode that is partially covered by the Health Fund
There will be some instances where insured patients need to pay for part of their procedure.
Maybe some of the procedures is classified as a cosmetic procedure, maybe they have restrictions on their level of cover & the hospital is able to raise a charge to the patient for those extra procedures.
Maybe the hospital is contracted for 2nd Tier rates and can charge a patient gap or they want to charge a credit card surcharge to the patient.
Whatever the case may be, FYDO accommodates this split method of billing the health fund AND the patient seamlessly.
To create an IFC for a patient whose admission is only partially covered by the health fund, see instructions on Creating an IFC for an Episode that is Partially Covered by the Health Fund
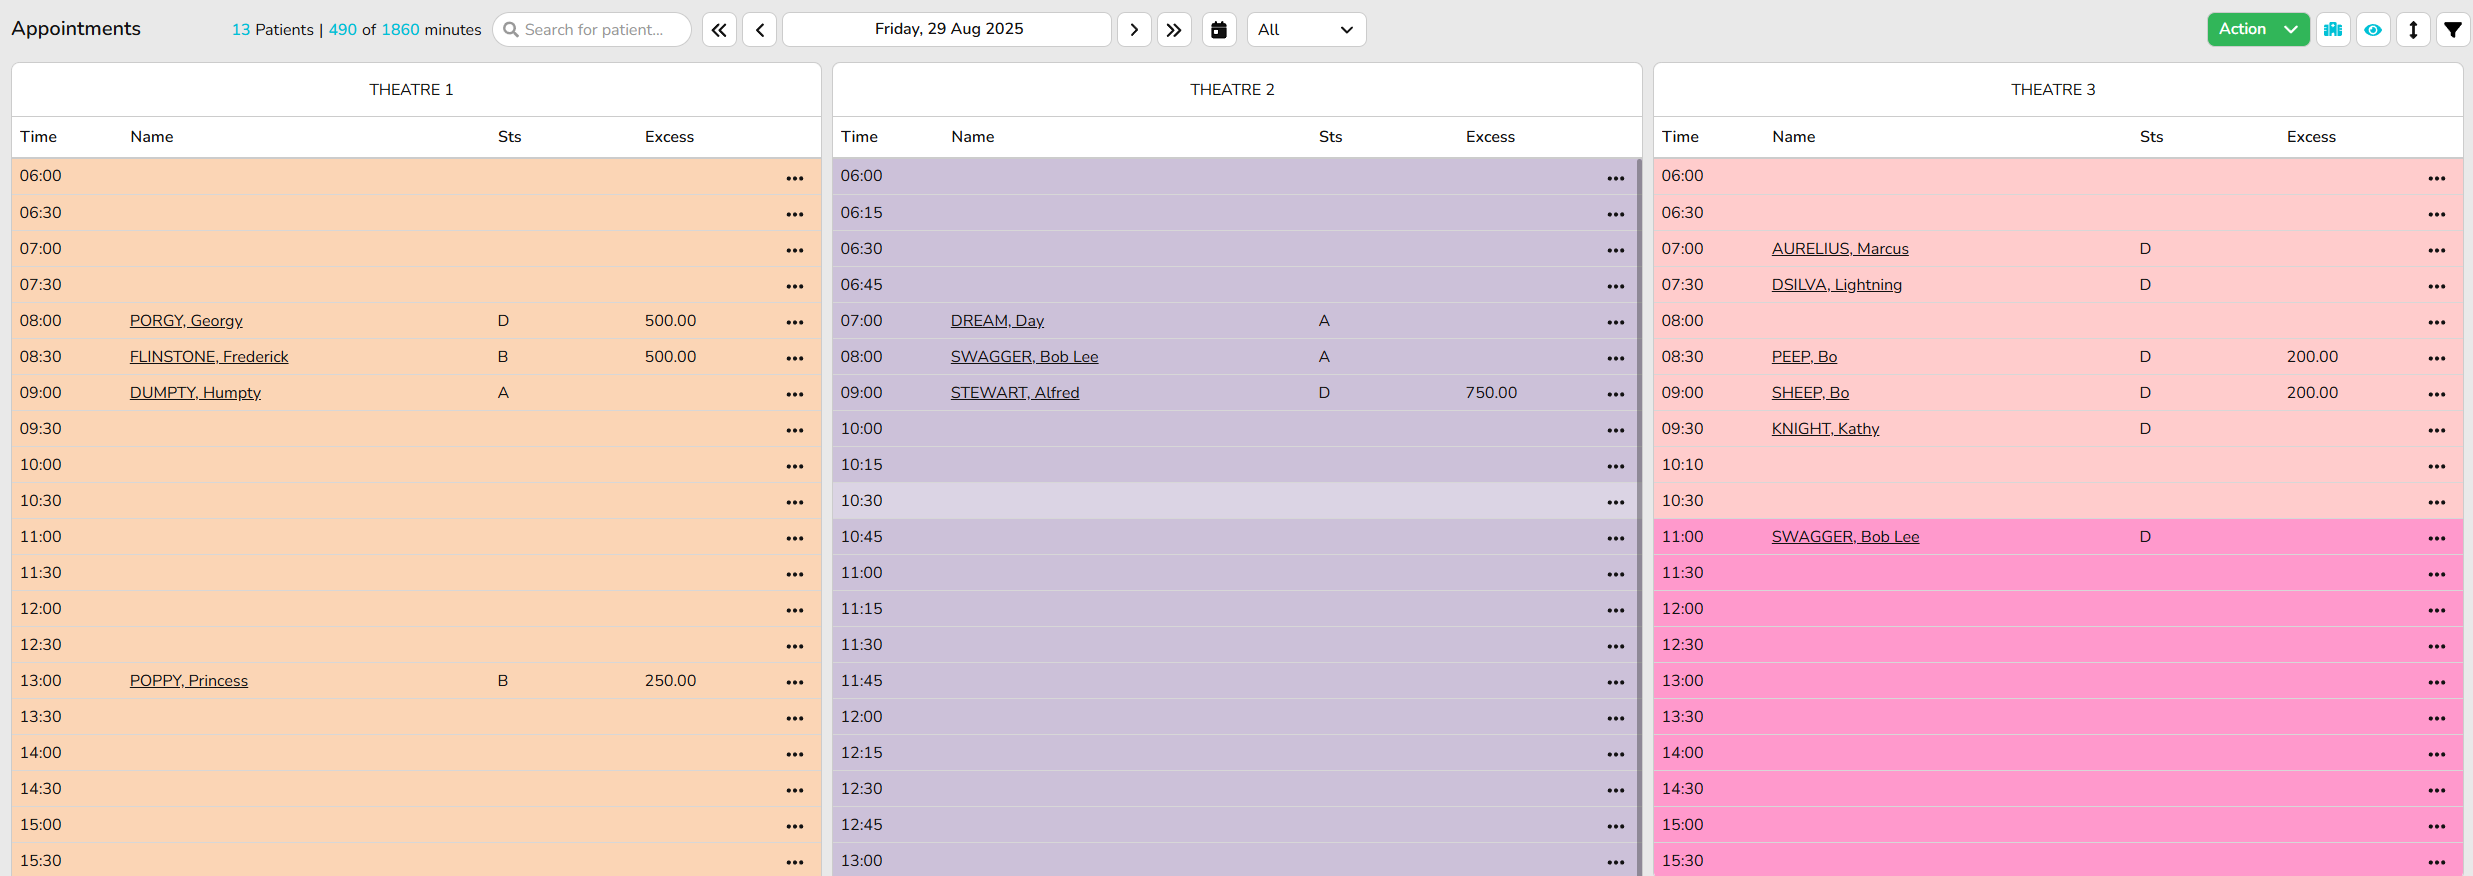
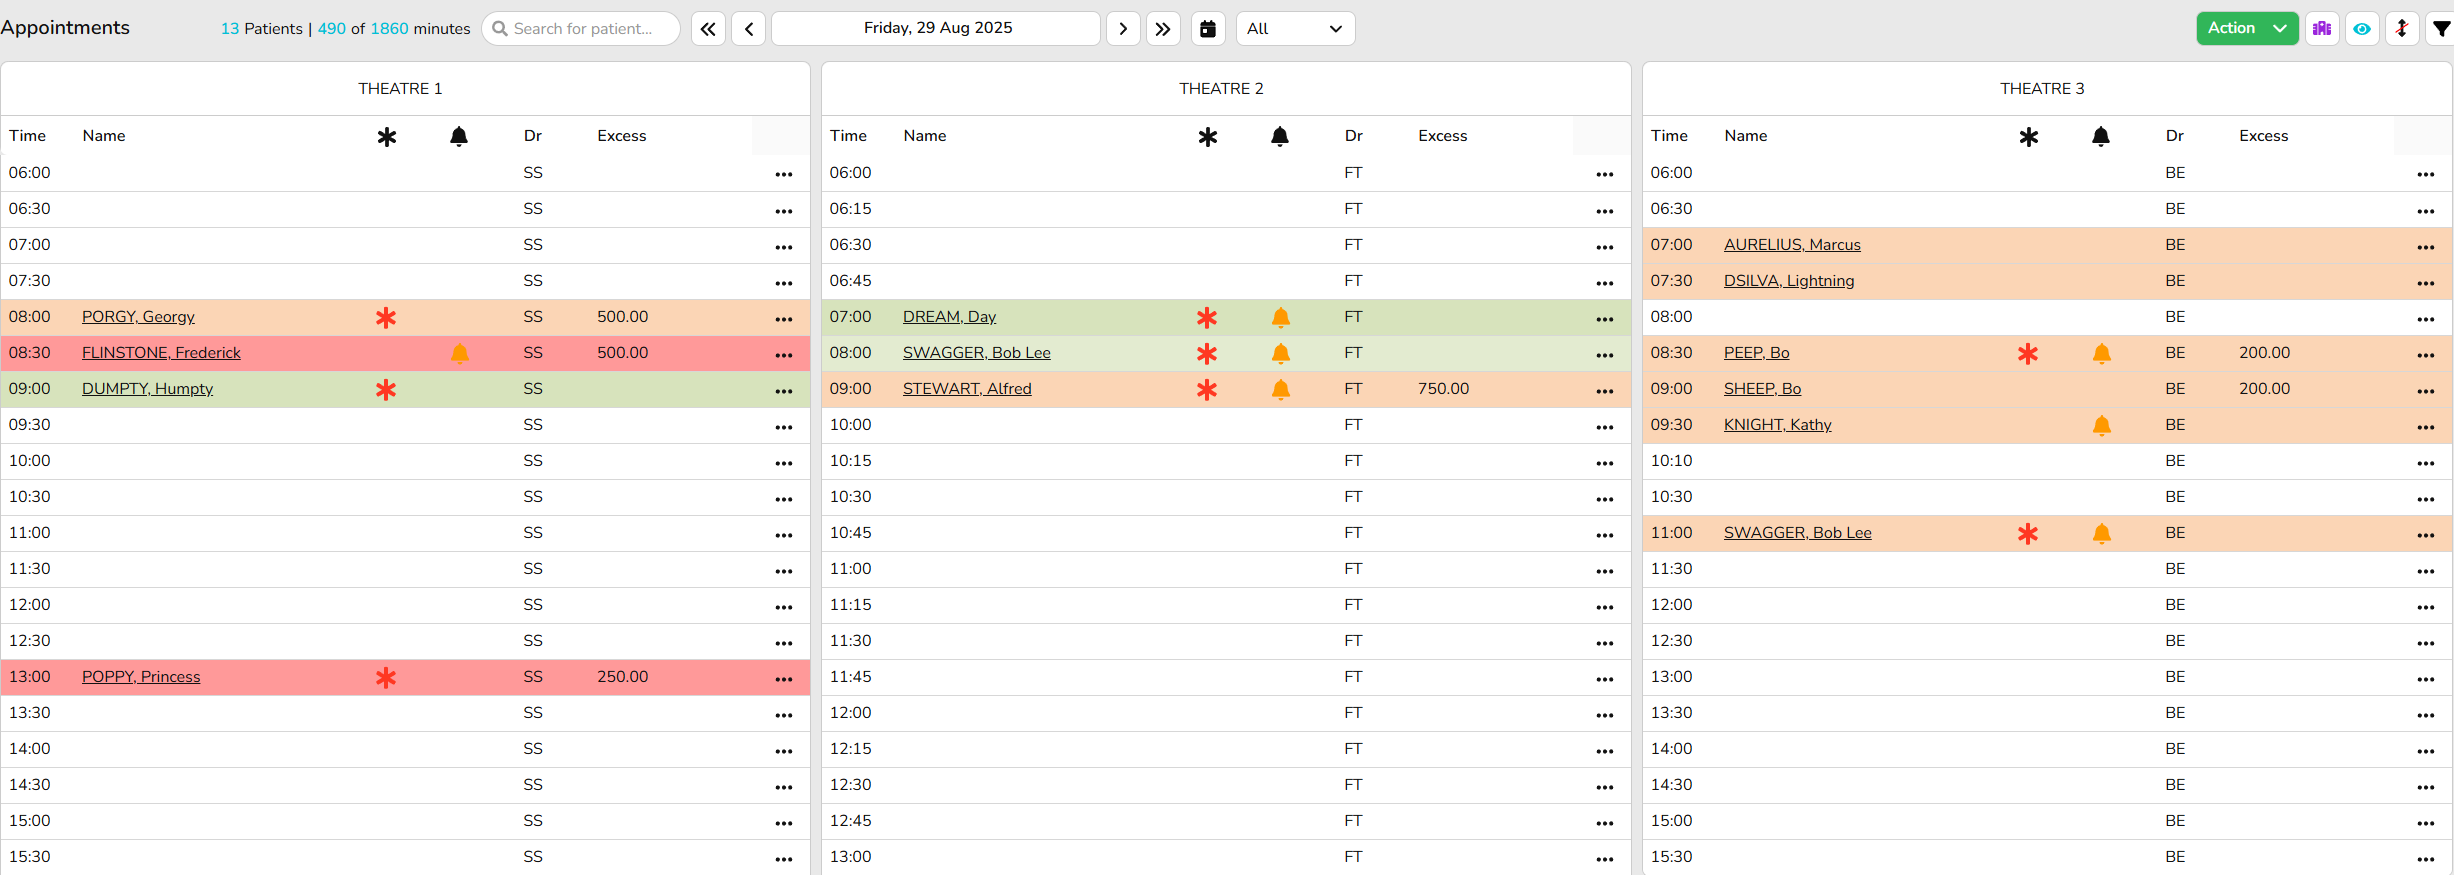
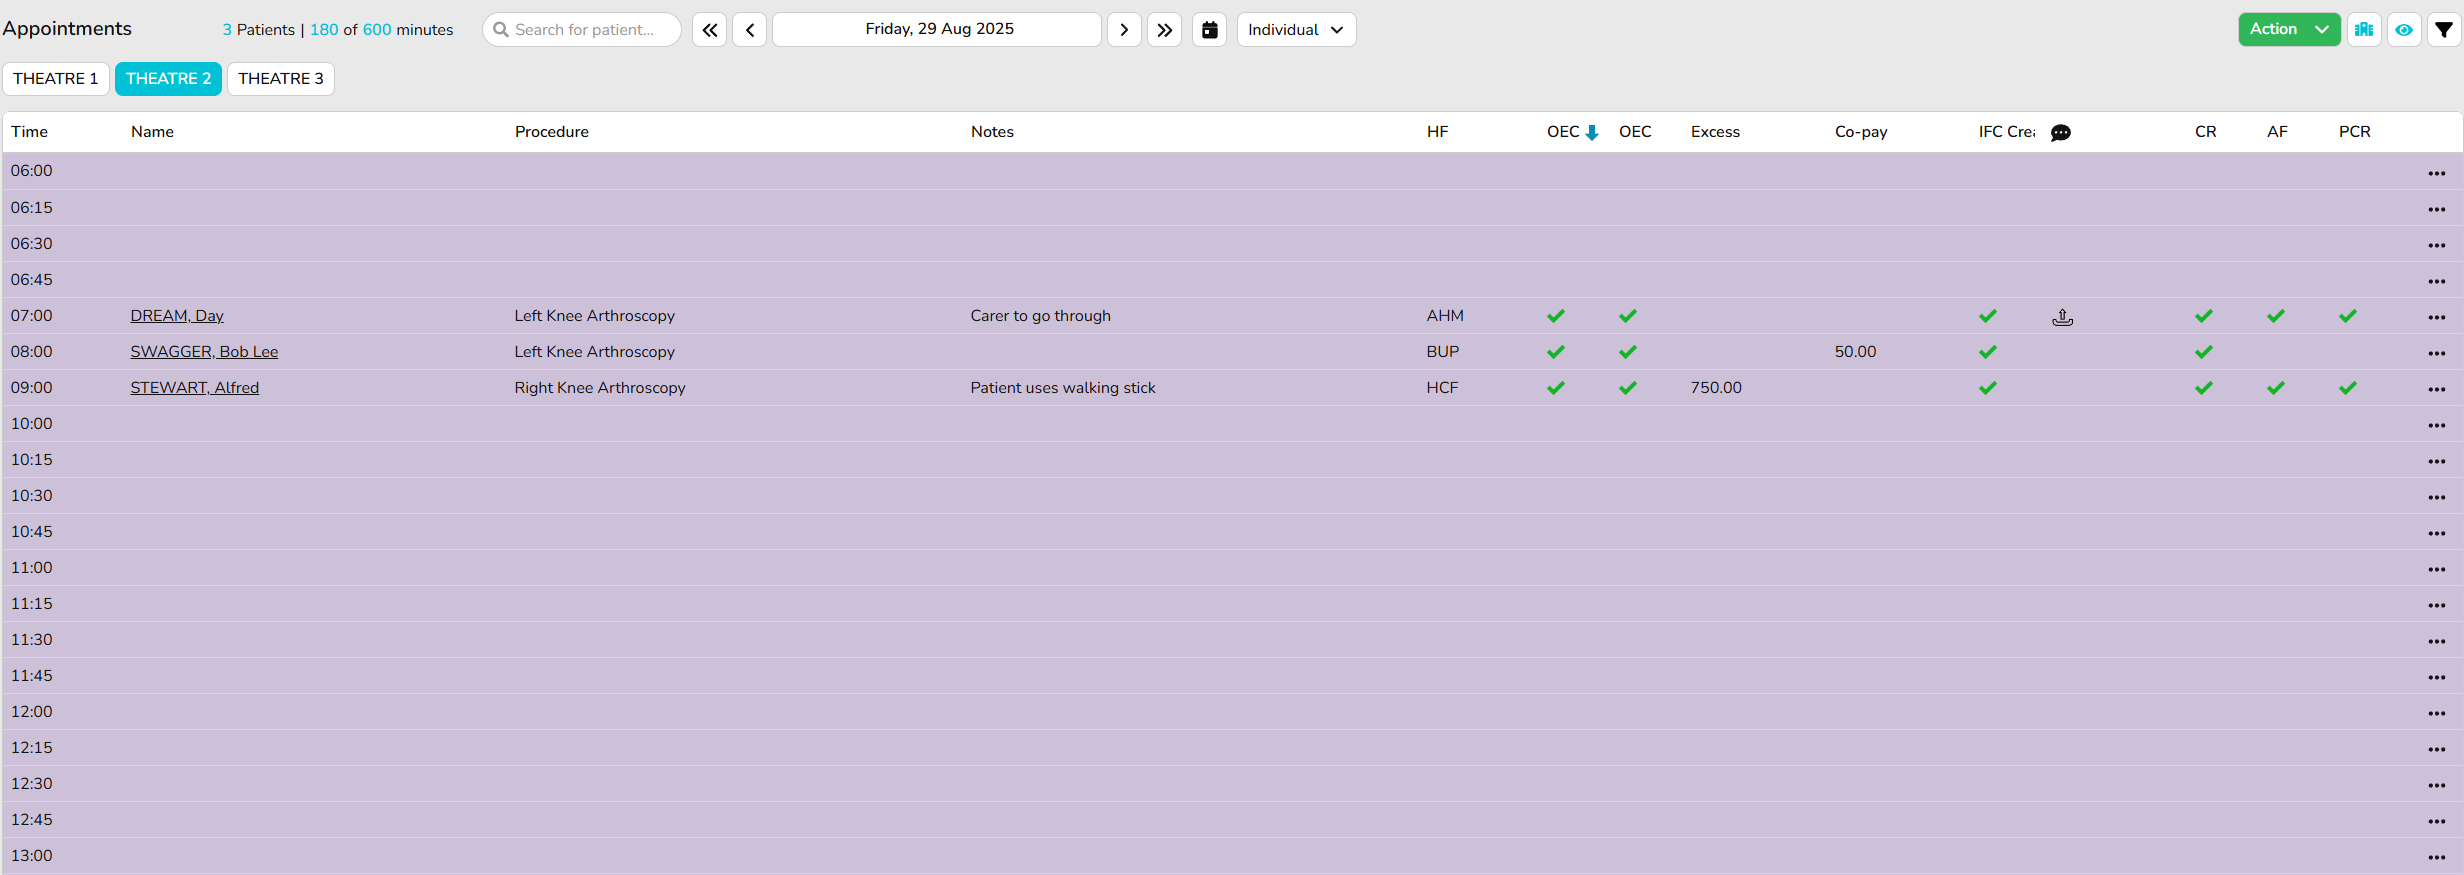
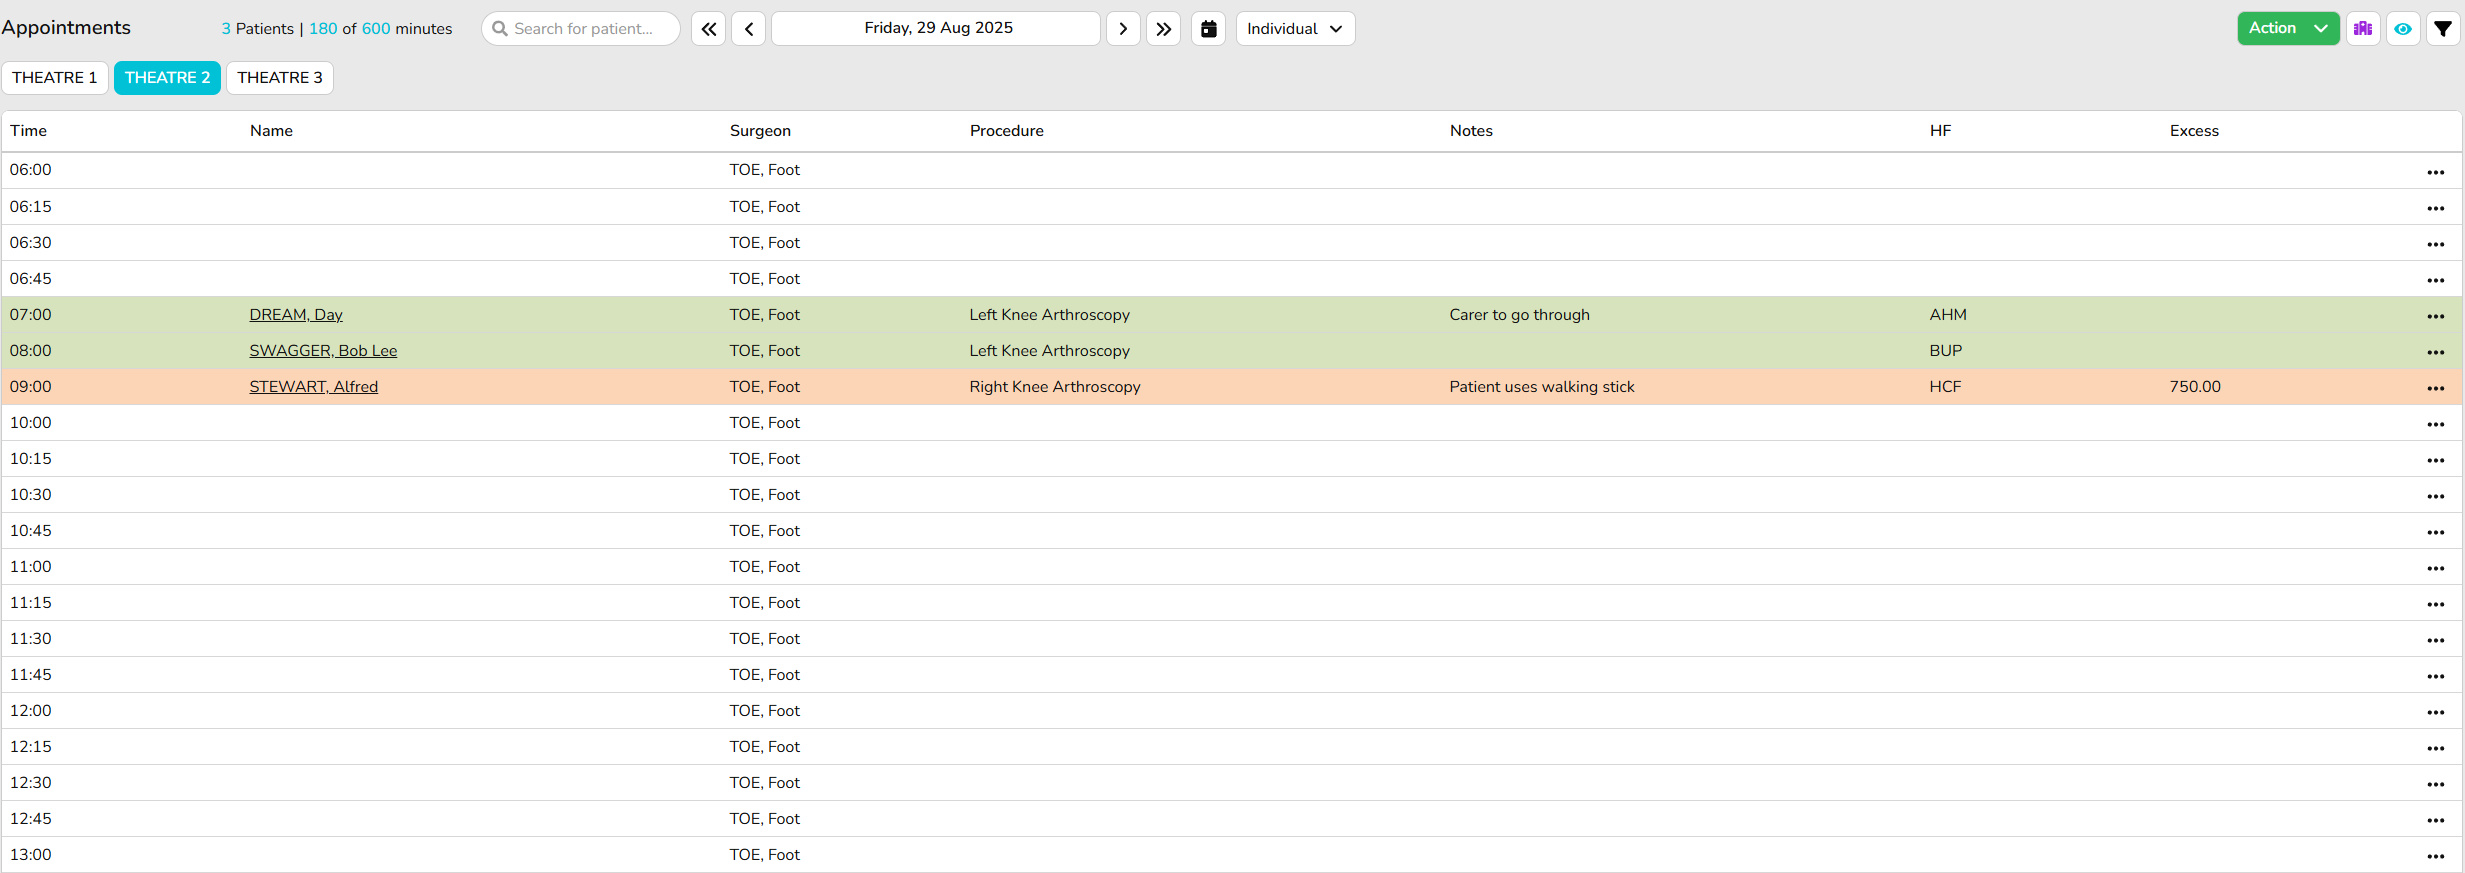
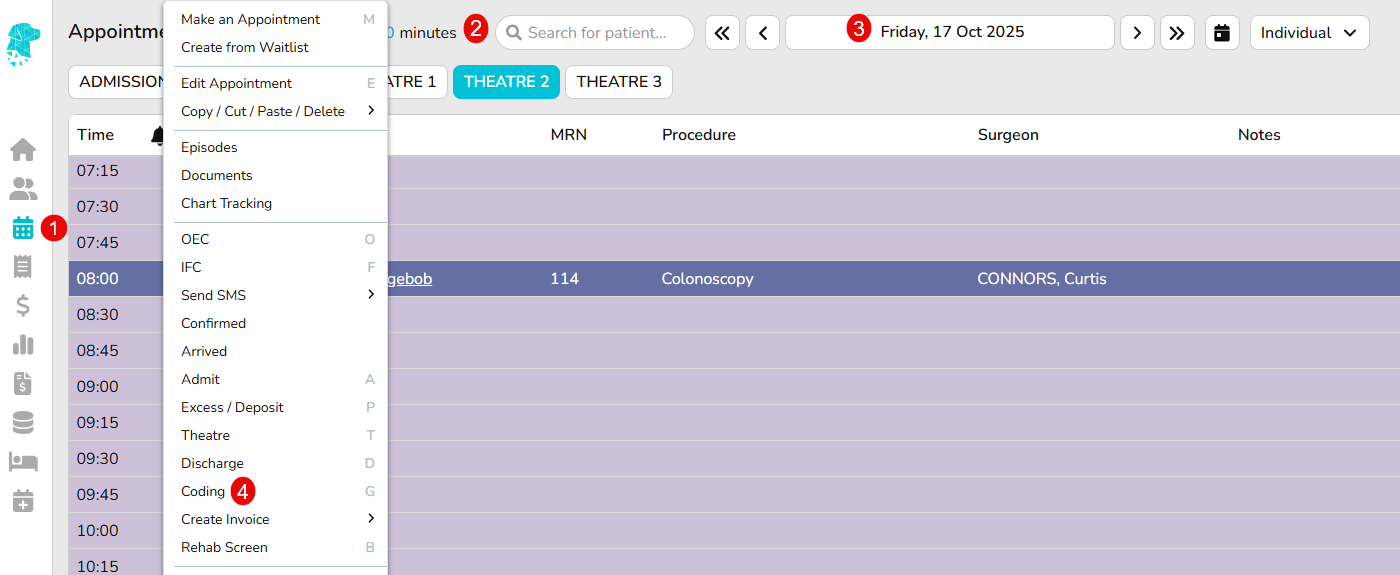
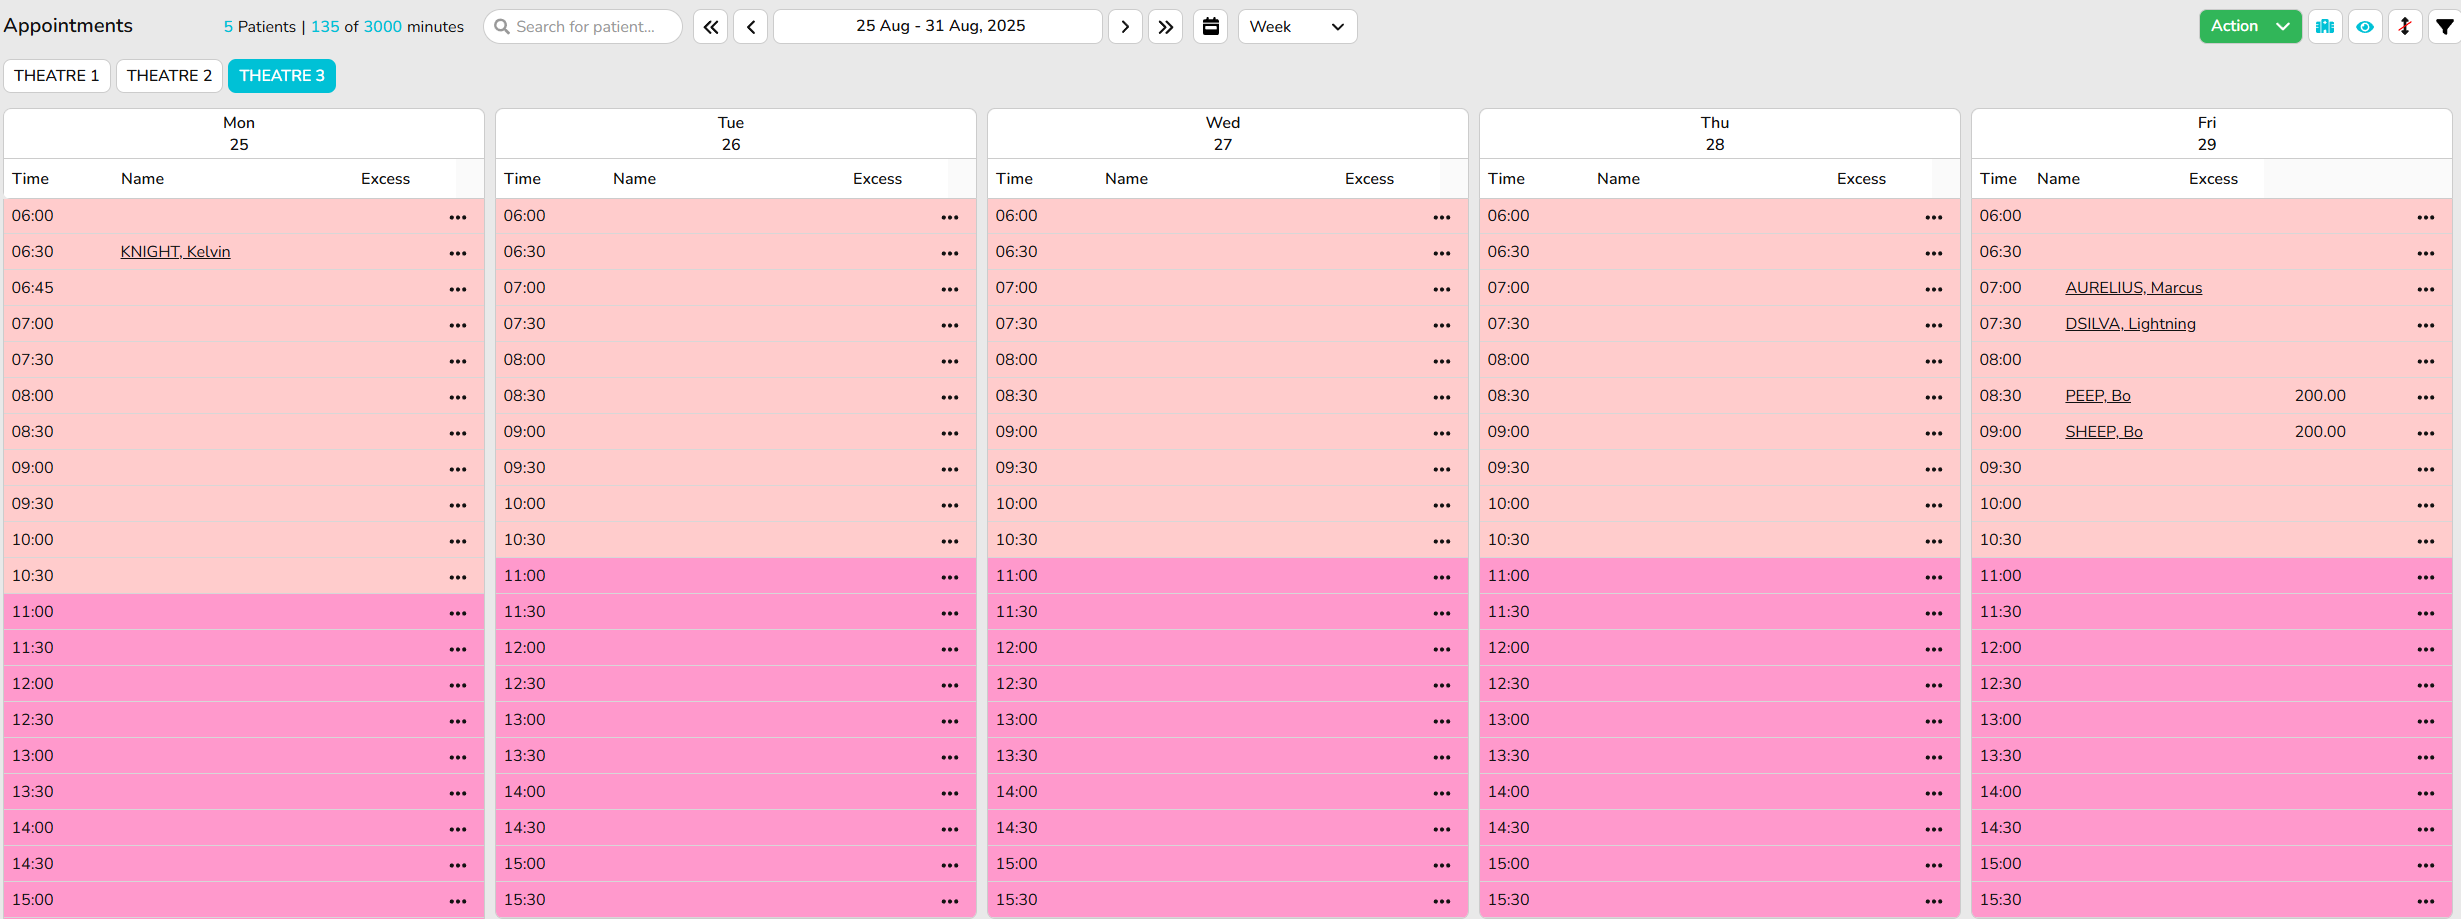
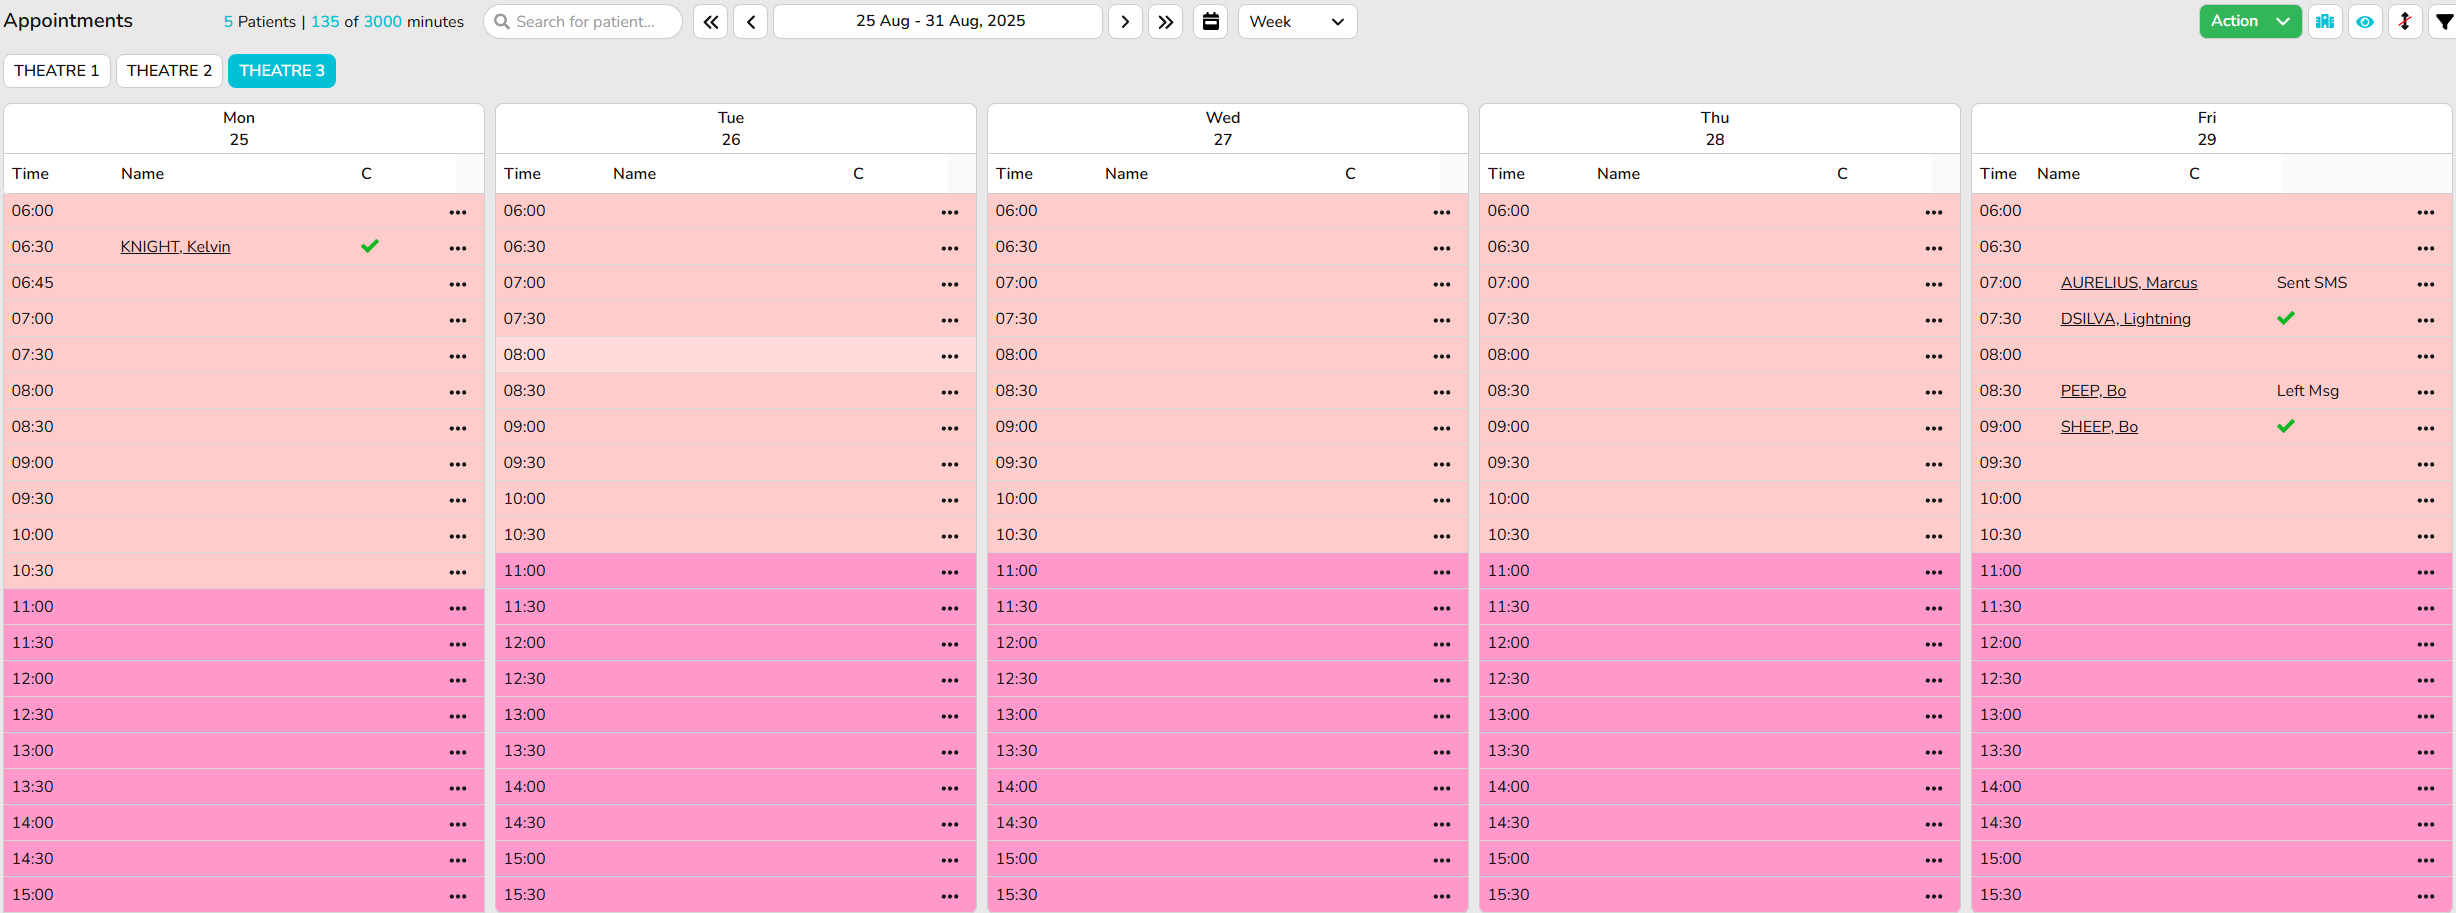
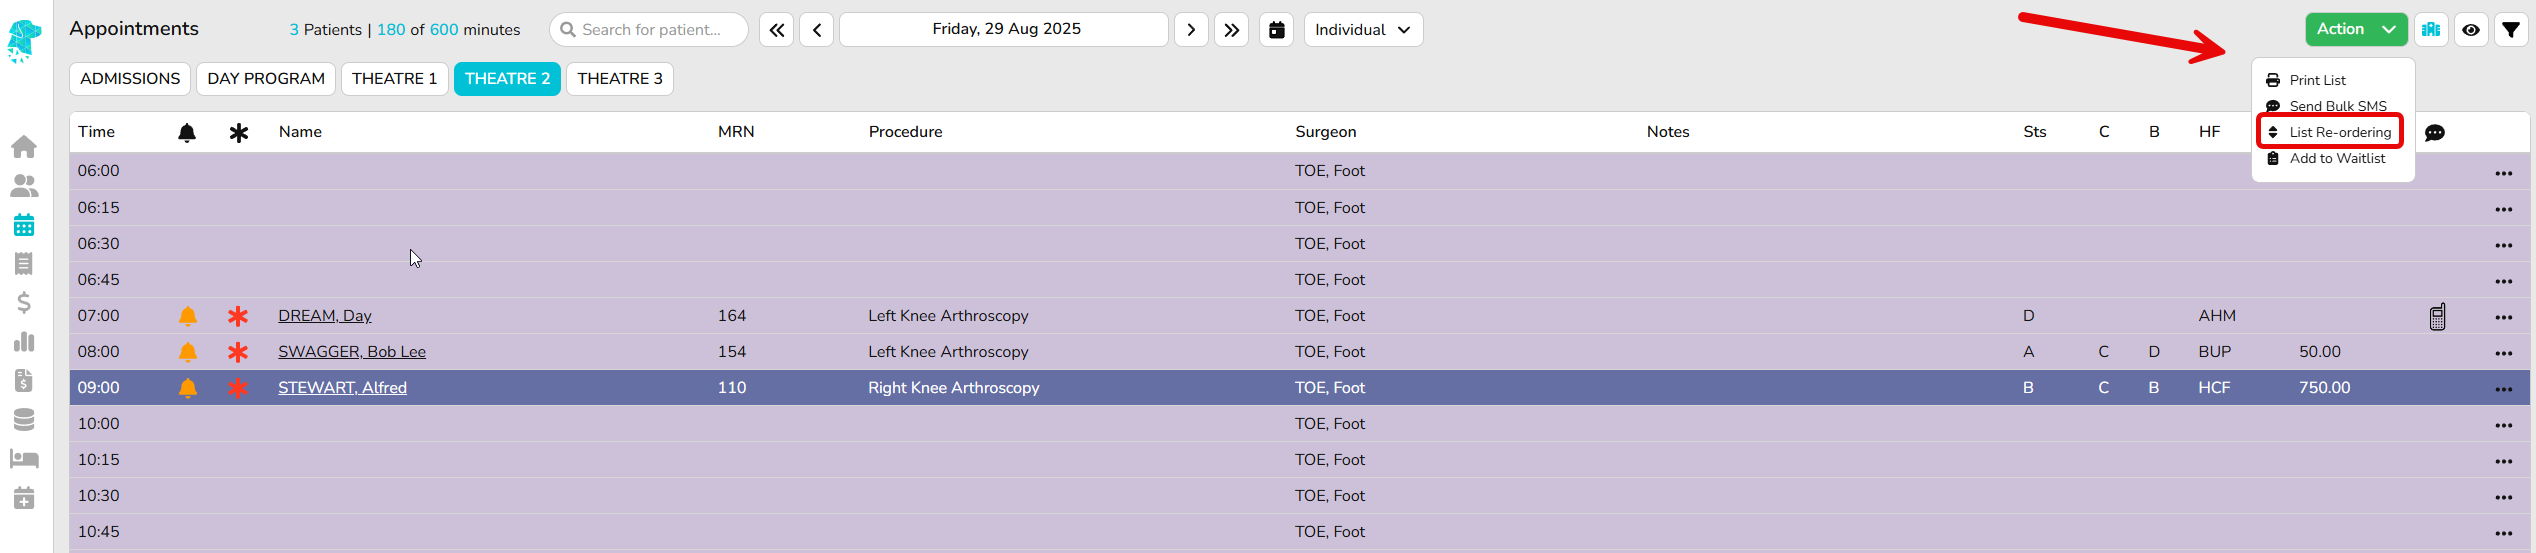
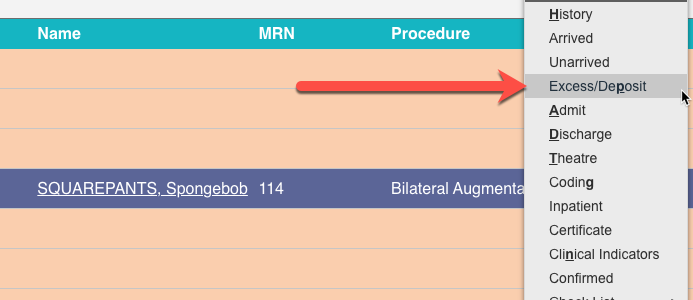
To receipt the patient for their Insured & Uninsured portions of their payment at the same time navigate to the appointments screen, right click on the episode & select Excess/Deposit.
Then use the Fund Excess section to receipt the payment that is required to go towards the Insured Fund Invoice and use the Patient Account Deposit section to receipt the payment that is required to go towards the Uninsured Patient Invoice.
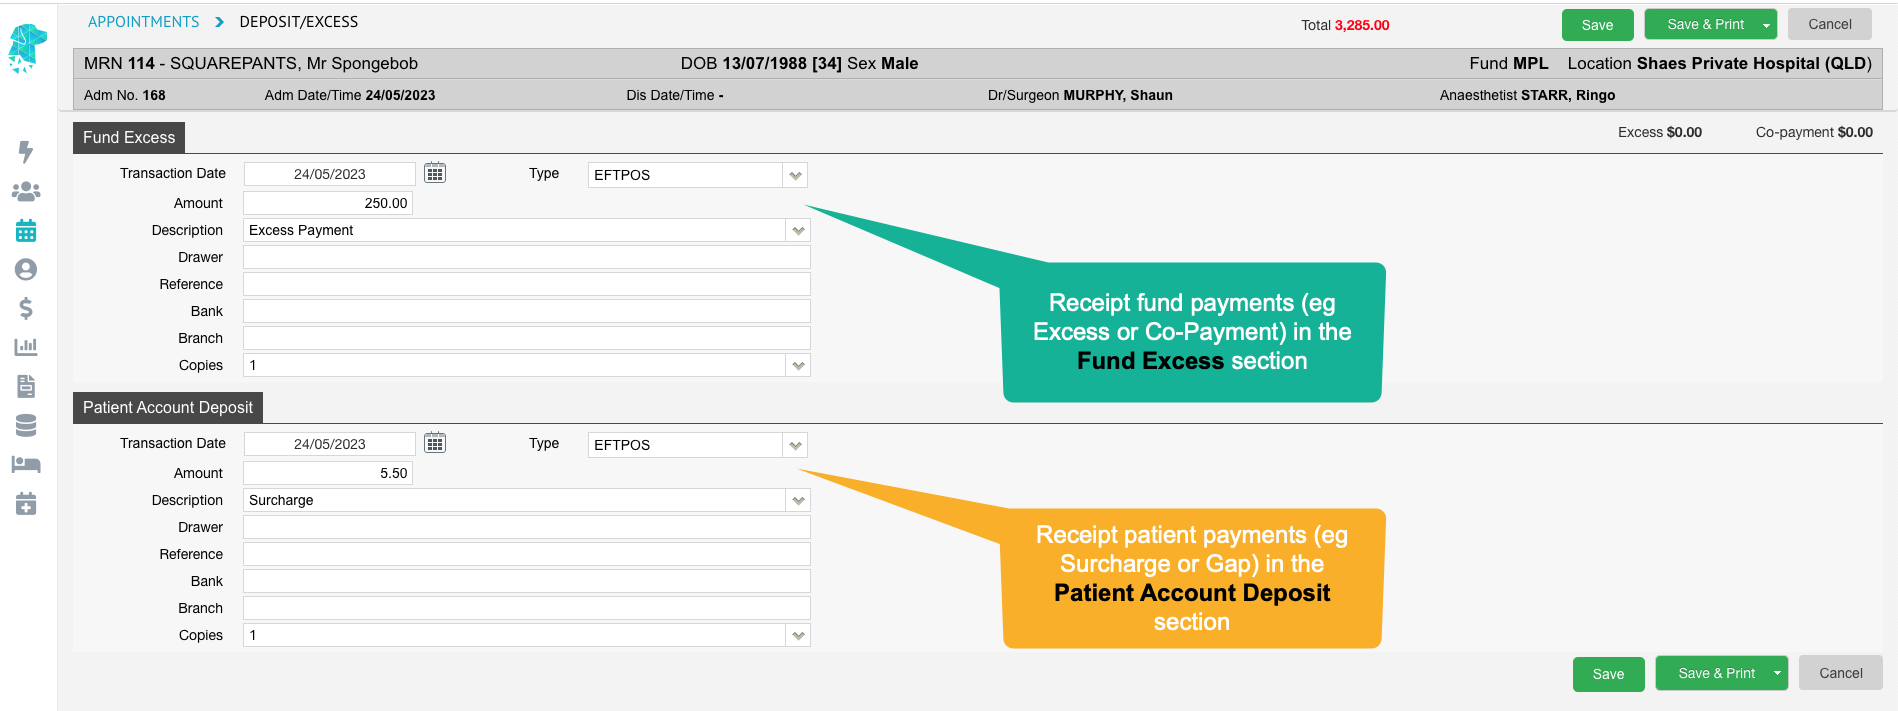
Click Save & Print to produce a copy of the receipts for the patient.
If you navigate to the History/Episodes screen you will be able to see that there has been an Insured Invoice Number raised, along with an Uninsured Invoice Number raise.