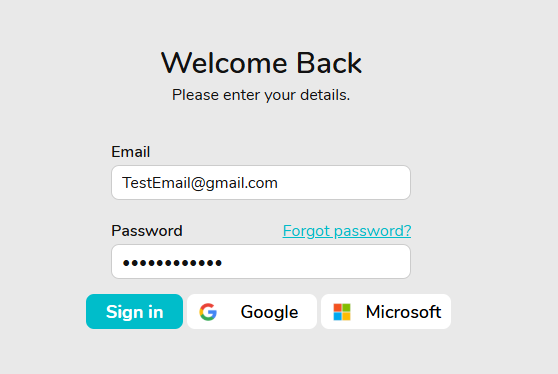
Tracking User Activity in FYDO

Did you know you can view user activity history in FYDO? Whether it’s to track changes made to an invoice, to see when a patient record was deleted or which user undertook what action, and when, the FYDO’s Audit Logs feature can help! Read on to learn more.

The audit logs show information about the action performed, who performed it, when they performed it, and their IP address. It can be used for troubleshooting purposes or monitoring user activities.

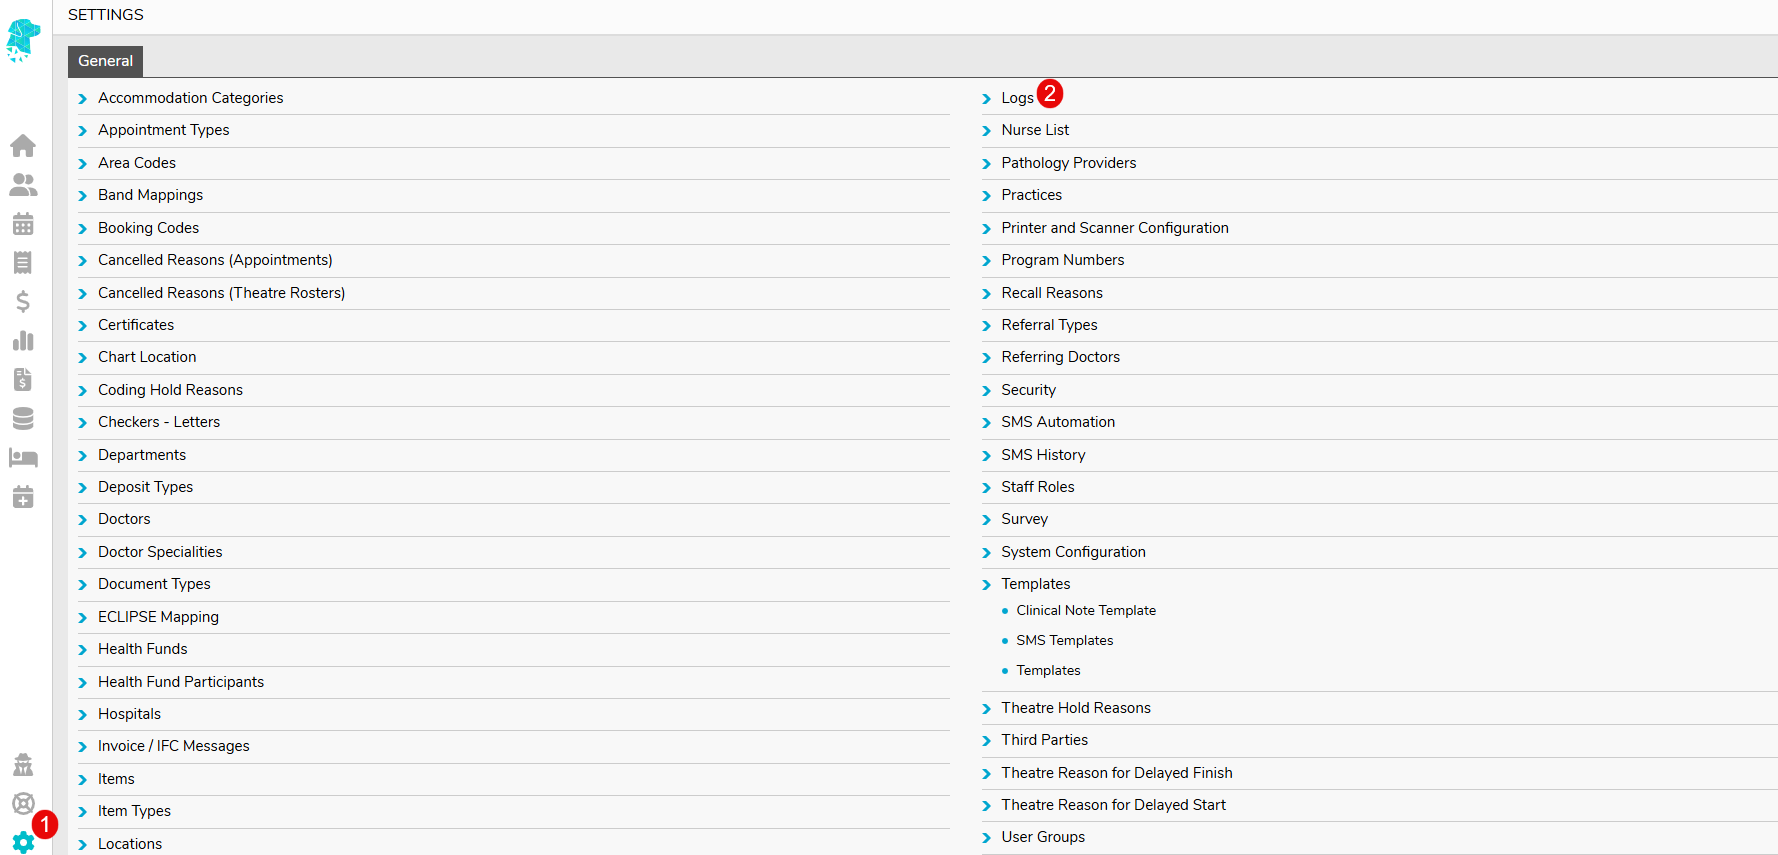
To view the audit logs, first navigate to Settings, then Logs.

How is user activity recorded?

Every user login is unique. So when a user logs in and begins taking actions on FYDO, their activity is logged. Here are some examples of logged user activity in FYDO:

  • User login
  • Changes to patient record
  • Changes to appointment details
  • Billing and invoicing changes
  • Claims sent and batches receipted
  • Payments taken, split, or reallocated
  • Documents deleted
  • Batches removed

You can view user action history within a date range, sort by user, action, or date, as well as search. 

Why use FYDO’s Audit Logs?

Let’s take a closer look at the benefits of this feature.

  1. Greater accountability: logged user action history fosters a culture of responsibility by users being aware that their actions are being logged, promoting responsible behaviour within the organisation.
  2. Enhanced troubleshooting: logged user action history can aid in pinpointing the source and cause of an issue, helping users to troubleshoot problems faster.
  3. Improved security: logged user action history offers a log of most system activities, enabling the identification of unauthorised access attempts, powering administrators to take the necessary steps to secure the system.

Who can view the Audit Logs?

Any user can be given access to view the audit logs by the Subscriber for their facility. The access is granted or removed in Settings > User and User Groups.


User Blocking & Unblocking

Why do users get blocked?

For security reasons, FYDO user accounts are blocked if a certain number of failed login or two-factor authentication attempts are made. 

How do users get blocked?

After the 3rd failed login attempt, you will need to confirm the captcha and once 5 failed attempts are reached, the user will be blocked from logging in for 10 minutes

The blocked user will also receive an email notifying them of this.

You may retry logging in once the 10-minute timeout has lapsed. 

If another 5 failed login attempts are made, the user will be blocked from logging in permanently. They will again receive an email notifying them of this and so will the subscriber. 

Who can unblock users?

The Subscriber or users with the Unblock Permission can unblock users. 

You can check to see whether a user has the Unblock Permission by navigating to Settings > User Groups and selecting the User Group that they are assigned to. 

The settings that govern the Unblock User Permission is found under Settings General.

Alternatively, the user with the permission group “Subscriber” can also unblock users, as this permissions group has the highest privileges.

How to unblock users?

  • First, login with a user who has the aforementioned Unblock Permissions option enabled or with the Subscriber permissions group
  • Then, navigate to settings > users > right click on the blocked user > select Unblock

That’s it! The user will be able to retry logging in or reset their password.

Conditional – if the Subscriber is blocked and no other users are present with the Unblock Permissions enabled

If it is the subscriber that is blocked and there are no other users with the Unblock Permissions enabled, to unblock them, or if you are having any other difficulties with unblocking a user, please contact FYDO support on 02 9632 0026 or support@alturahealth.com.au


Inviting Users to Fydo

Need to invite more users to Fydo? Read below to find out how!

First lets head to Settings


Then, from the menu, select Users.


You will arrive at a page displaying information about all your users. To create a new one, lets click on Add User


Fill out any relevant information. Things such as:

  • First and Last Name
  • Email (where the invite will be sent to)
  • Provider Number (this is optional)
  • Group
  • Personal Message (this is optional)

Once you have the details entered. Click the green Save button


All done! Fydo will now send an email to the designated address, with instructions on how to proceed.


Groups in Fydo

If you don’t have any Groups set up within Fydo, here’s how you can do it!

  1. First, lets go to Settings.


2. Then, select User Groups.


You will now see a list of all your User Groups, as well as some additional information about them such as:

  • Name
  • Description
  • Linked Users (Amount of users in this group)
  • Status


If you wish to create a new group, select Add User Group, as seen below.


Now, set a Name and a Description (Optional) for your group.


Setting up permissions for your newly named User Group is as simple as clicking On/Off for any parts of Fydo you wish to grant, or deny access to.


There are a whole host of options, so have a look around and see which settings are perfect for your group.

Once you are happy with what you have created, click Save.

You have now created a User group!


Accepting a Fydo Invitation

Received an invitation from Fydo to join? Read below to see whats needed from you.


Once you have your above email, click the link as shown above.

This will take us to a new page:

Simply click Accept to begin creating your account!


Now, lets set our password, agree to the terms of use and then click Create.

Your password requires at least 1 Capital letter and one Number.

Now we are ready to log in. Lets enter the details we just created.


The last step is to set up two factor authentication, for the security of your users, and your data.

Lets click on Set my Mobile Number

Just a few more steps and were done!

1. Set your mobile number (The leading 04 is required!)

2. Click ‘SMS Me’

3. Enter the 6 digit code that was sent to your mobile

4. Tick ‘Remember me for 30 days’ (Optional)

5. Click Verify

All done! You can now log in and access Fydo from any browser!