Creating Custom Hospital Views in the Appointments Screen
The Appointments Screen in FYDO is completely customisable. Creating different views will assist in workflow & efficiency & allow different staff members to view information that is relevant to them.
The views that are created are available to all users on the database & each user can choose their own favourite default view by selecting the heart next to their chosen view.
Users are able to have a favourite custom view for each view type, eg. a favourite “Individual” view, a favourite “All” view & a favourite “Weekly” view.
- Custom views are created in the Appointments Screen
- Hover over the eye icon & select Add New View

- Select the Location, Department & Doctors/Theatres that you want the view to be available for. Or leave with All selected for the view to be available all the time
- Add the View Name to identify the view that you are creating. E.g., Theatre, Recovery etc
- Choose the Layout in which you would like the view to open. E.g., Individual theatres, all theatres or weekly view
- Select the Scroll type based on how you would like to view the screen when you scroll.
Individual Scroll– You will be required to hover over the theatre in which you would like to scroll up or down.
Unified Scroll- This allows you to scroll anywhere on the page and all the theatres will scroll together - Select the Hospital State Type. You have the option to set the appointments to display by:
– Appointment Type- This will colour code the bookings as per the Appointment Type in the booking
– Status- Will colour code the bookings according to where they are in the facility
– Booking Code 1– will colour code the appointments according to the booking code 1 that has been entered
– Booking Code 2- will colour code the appointments according to the booking code 2 that has been entered

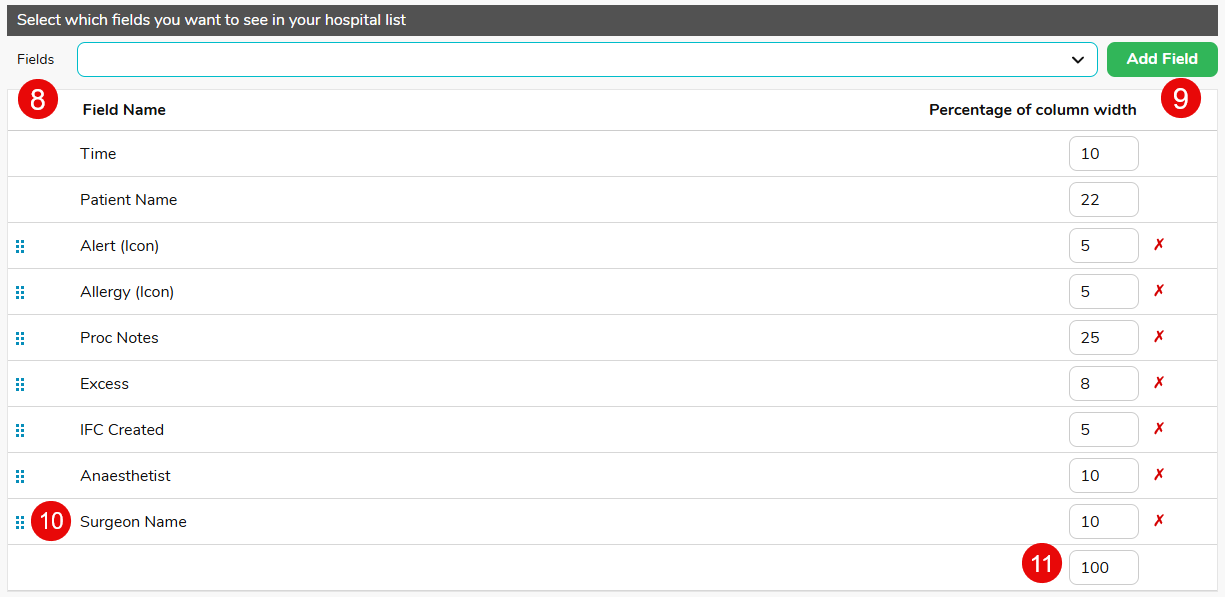
- Use the Fields dropdown to select the type of information that will be added to the custom view
- Click Add Field to add the selected field to the table below
- Use the on the left of each line to sort fields into the required order
- Use the Percentage of column width fields to determine the width of each column
N.B. the total of these columns always has to add up to 100. - Click Save and the appointment screen, with the new custom view that was created, will be displayed

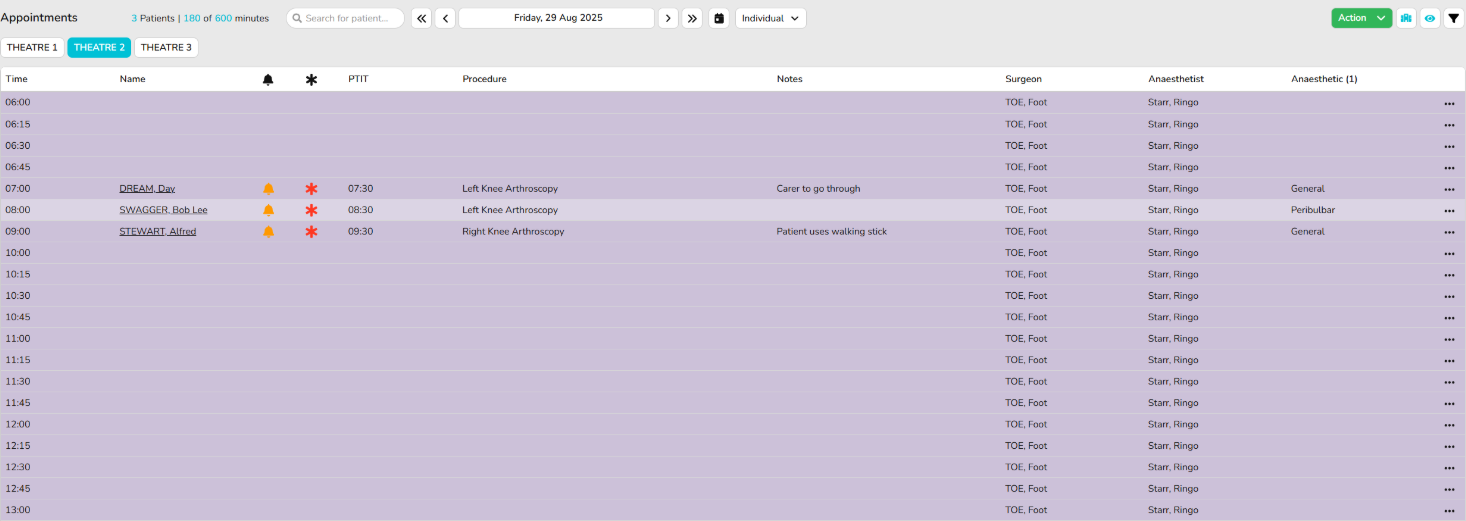
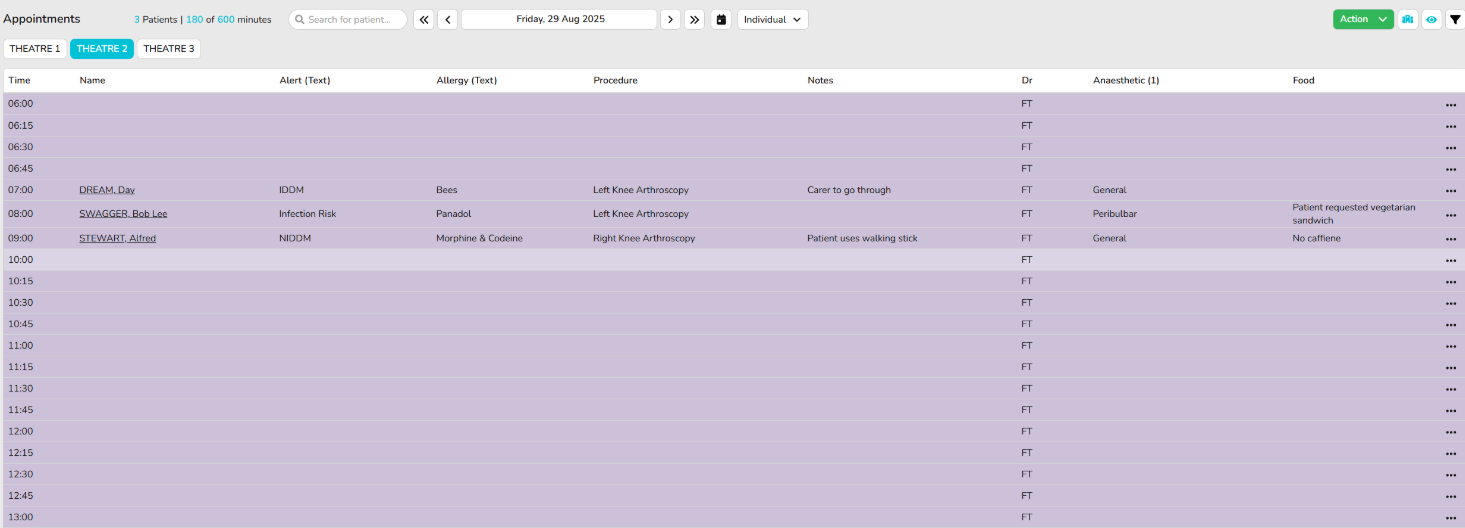
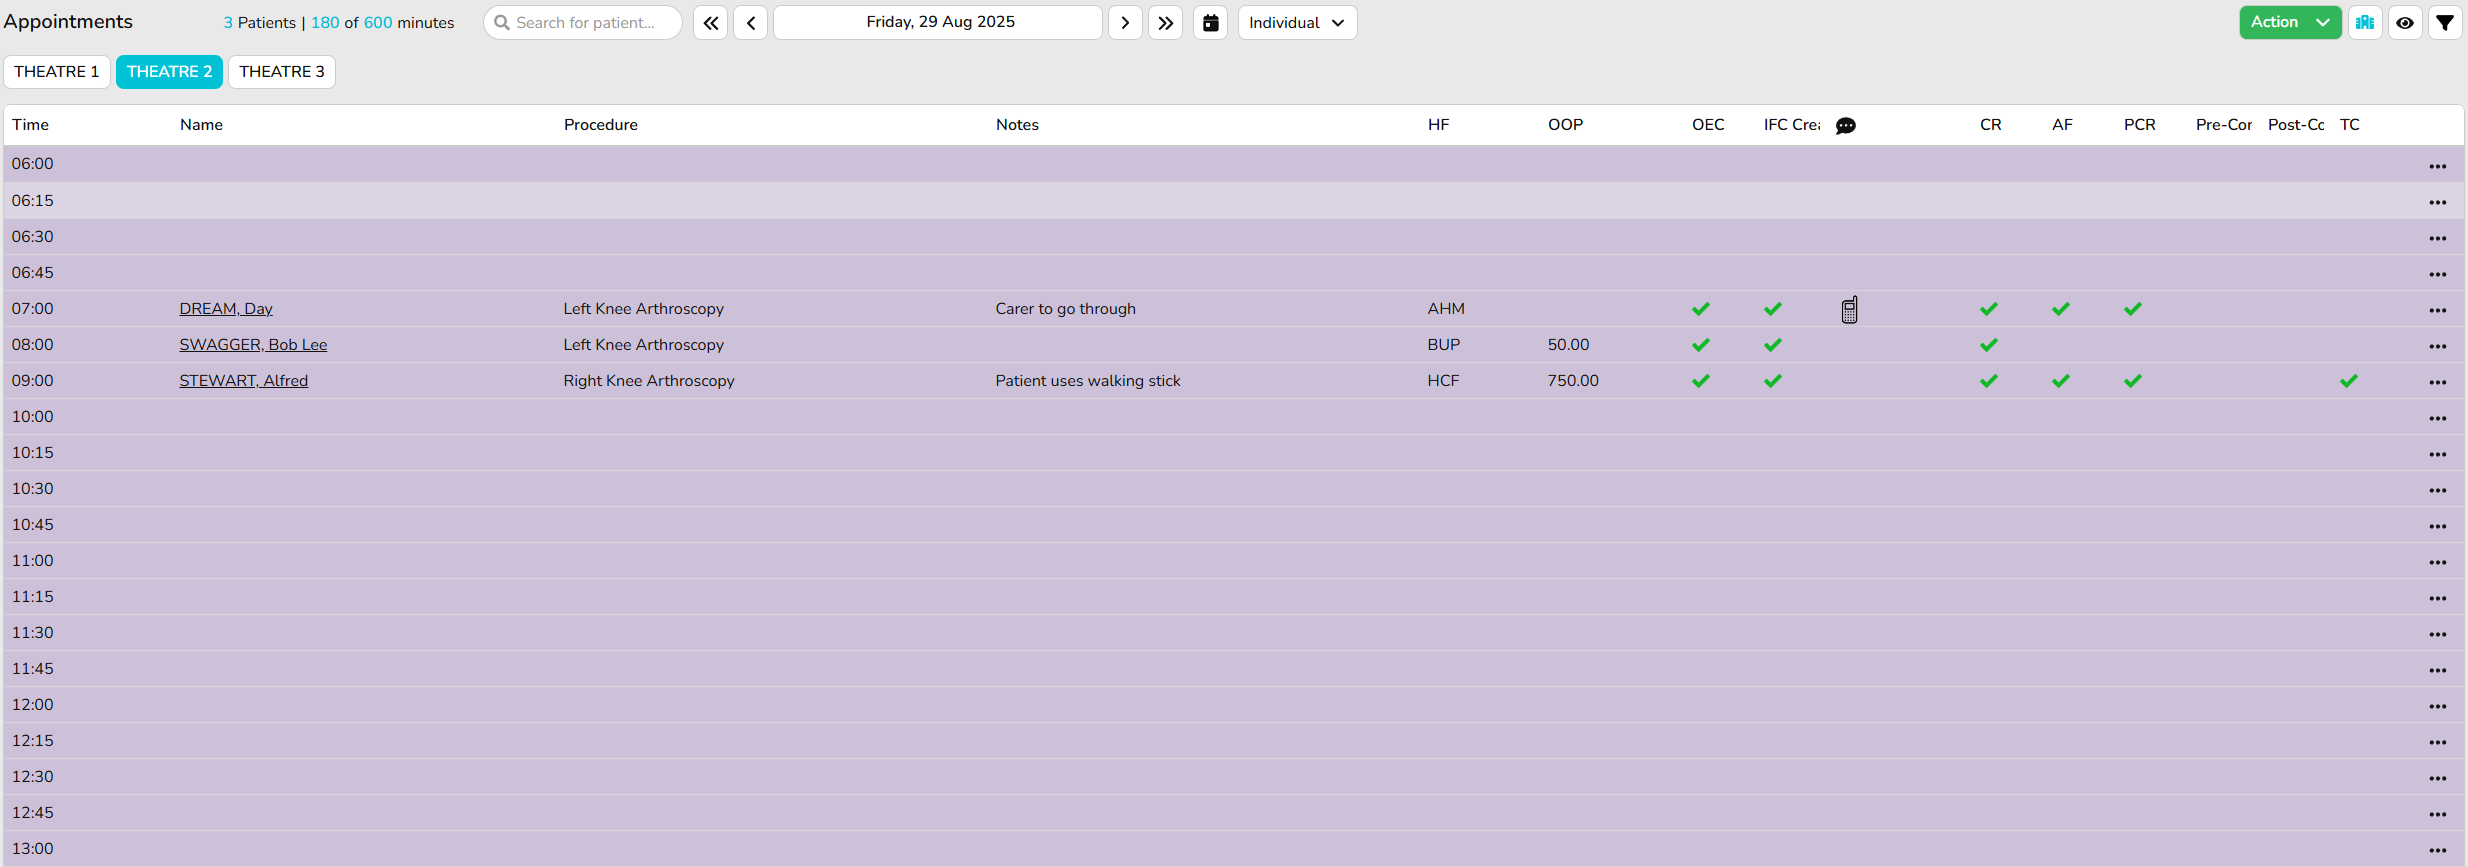
Some examples of helpful views are:
Administration View

Theatre View

Recovery View


