Deleting Digital IFC & HC21 from Preadmit Patient Portal
Log into the Preadmit Hospital Portal
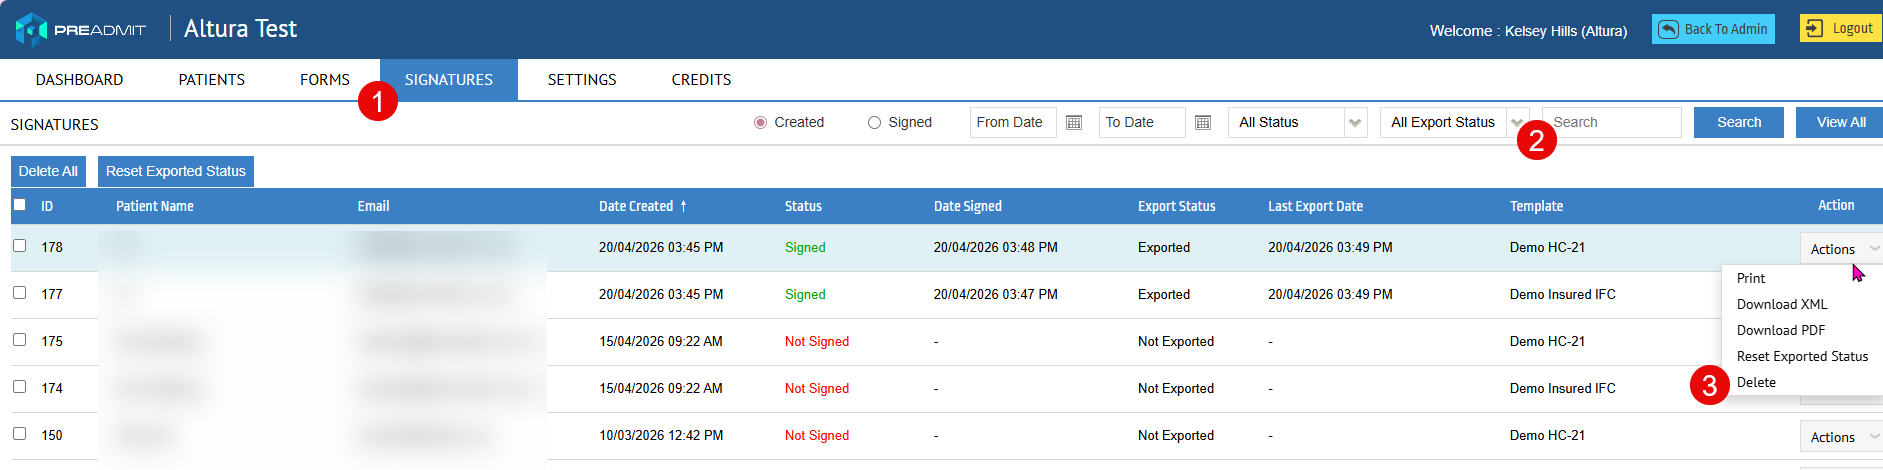
- Head to the Signatures tab
- Search for the patient you require
- Actions > Delete
Log into the Preadmit Hospital Portal
Patients will have their access to the preadmit portal temporarily suspended after 5 incorrect password attempts. If this occurs, they will need to wait 10 minutes before attempting to log in again. They will not show as blocked in the Preadmit Hospital Portal during this time.
If they continue to attempt to log in with the incorrect password, their account will be permanently suspended. If this occurs, they will need to contact the hospital directly to have their account Unblock. Altura Health support team will not unblock patients for security reasons.
If a patient calls and needs to be unblocked, follow these instructions.
Log into your Hospital Preadmit Portal and navigate to the Patients Tab.
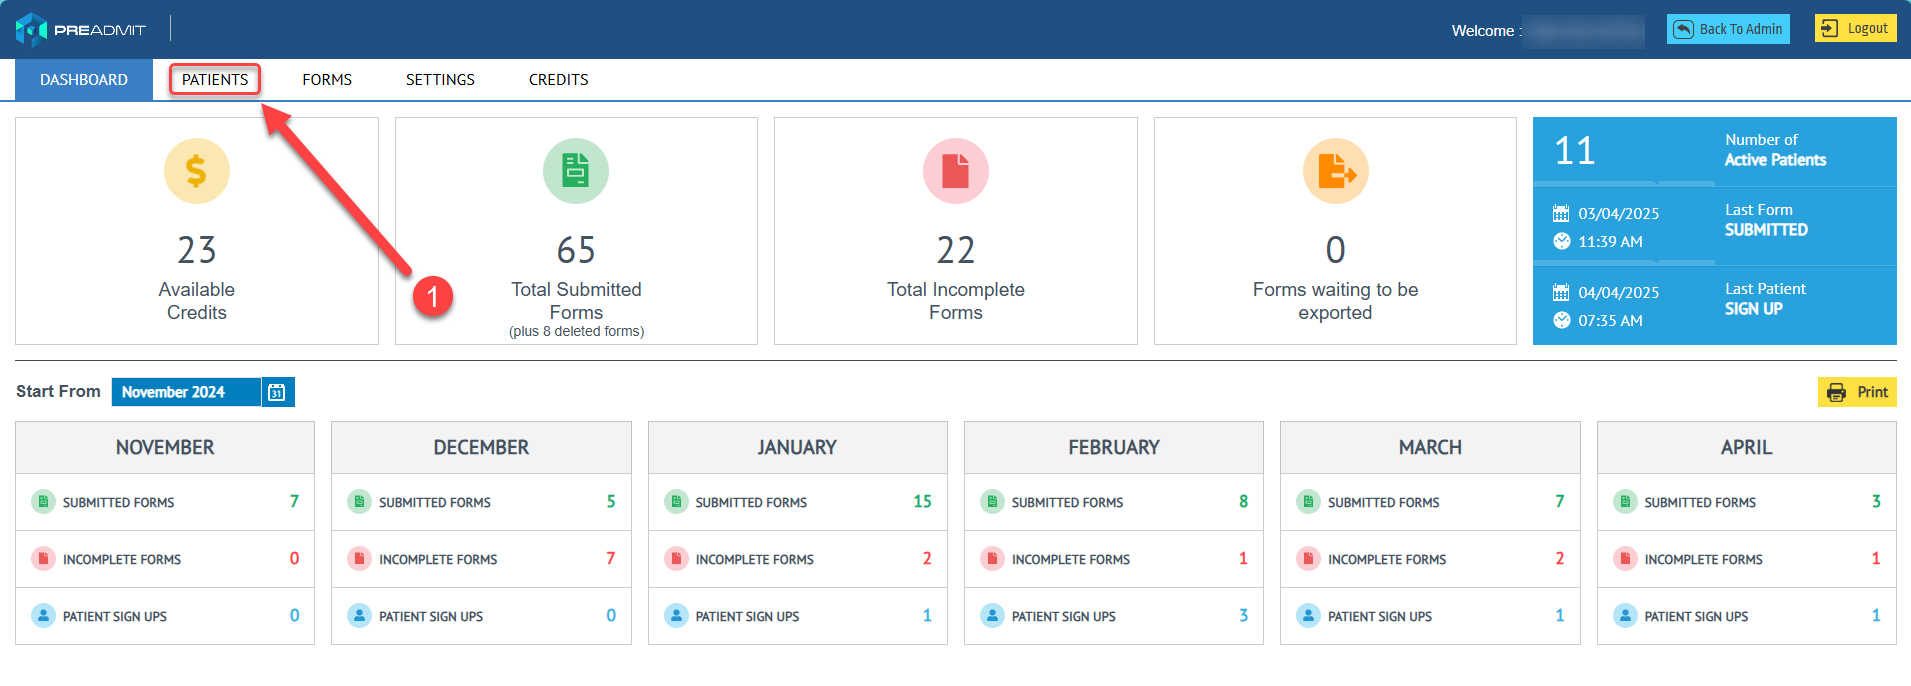
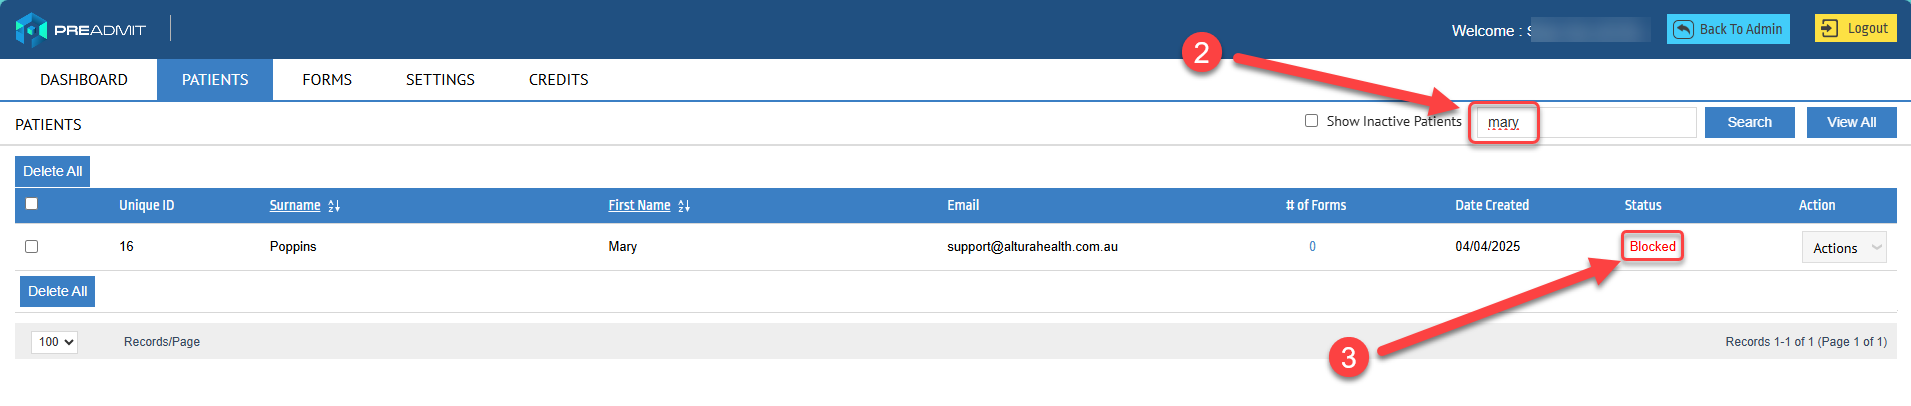
Find the required patient, utilising the Search field if required.
The patient will appear as Blocked if they have exceeded the initial 10-minute restriction and continued to attempt to log in.
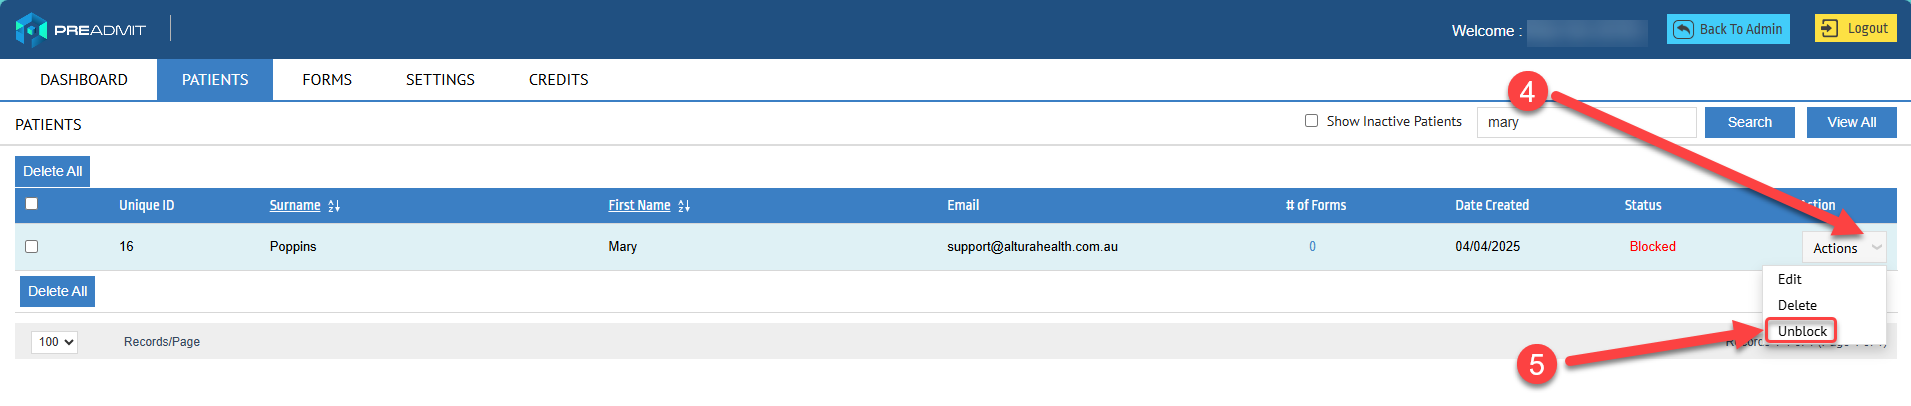
To unblock the patient, click on the Actions dropdown and select Unblock.
Patient will then need to follow the steps in the below PDF document to reset their password.
You are able to download the below PDF and send it to the patient if required.
Access to the preadmit portal will be temporarily suspended after 5 incorrect password attempts. If this occurs, please wait 10 minutes before attempting to log in again.
If you continue to attempt to log in with the incorrect password, your account will be permanently suspended. If this occurs, you will need to contact the hospital you are attending to have them Unblock your account.
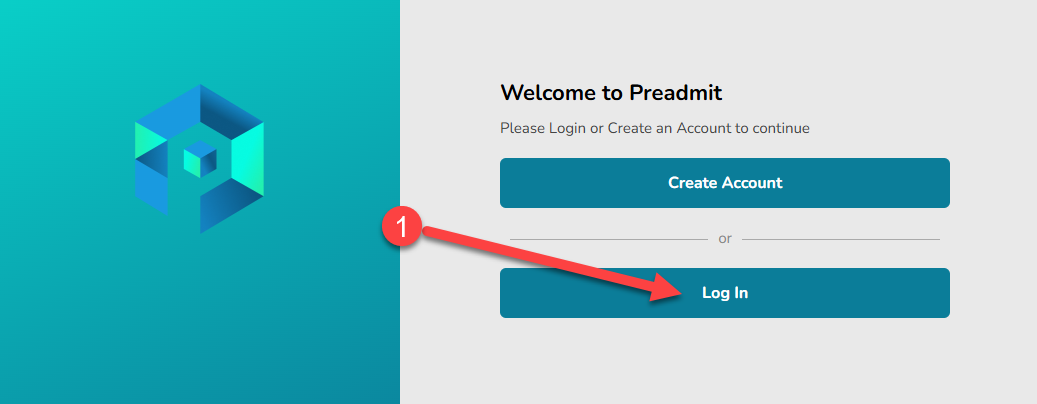
You will then be able to navigate to the Patient Preadmit Portal and click Log In.
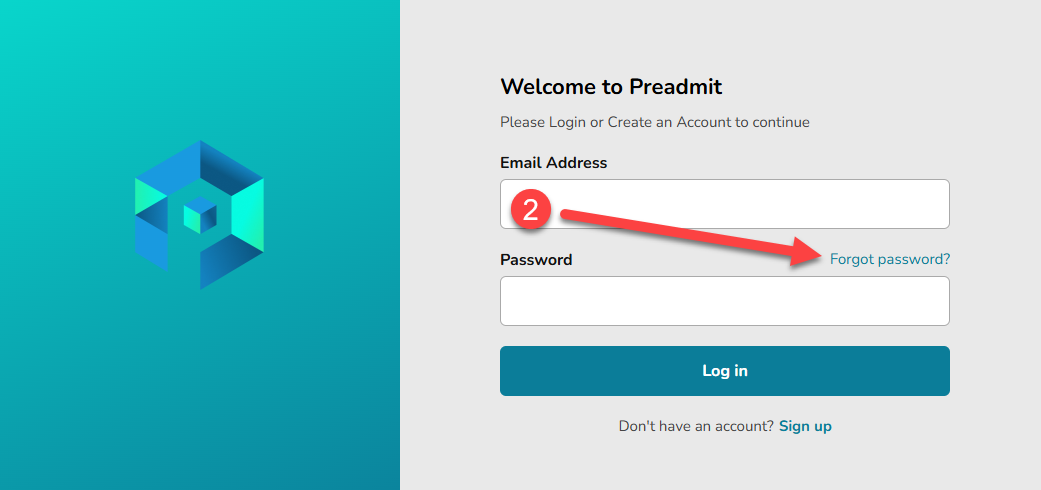
Click Forgot Password?
Enter the patients Email Address and click Recover.
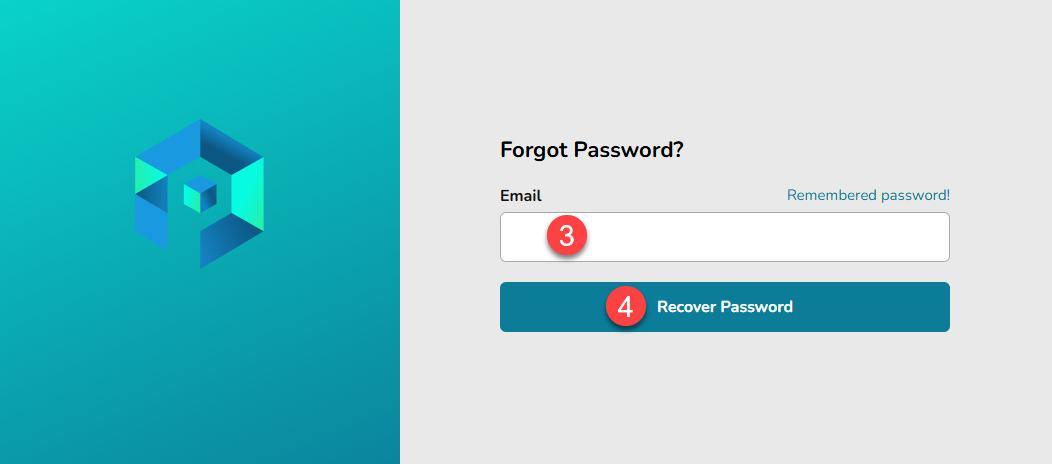
Check your email address for a link to reset your password.
Patient Alerts is a new feature in FYDO that displays a list of high-risk patients and their associated conditions, helping you address potential issues before admission.

Patient Alerts are configured within your hospital’s Preadmit Portal:

Patient Alerts streamline the preadmission process by enabling hospitals to gather critical information effortlessly and early:

4. Responses without alerts are attached to the patient’s FYDO file under Documents.
5. High-risk responses are displayed in the Patients Alert for review by Clinical Preadmission Staff.
6. To access the Patient Alerts Screen, navigate to Data I/O and select Patient Alerts.

7. Key Features of the Patient Alerts Screen include the top-right menu which allows users to:


8. Arrow or Flag icon will display the high-risk triggers.
9. Patients Name Link: Go directly to the Patient Details Screen.
10. Important Information: Regarding episode and patient can be viewed.
11. The Status indicates what action is require for the patient:


12. The menu, on the right, gives users a number of options, including:


It is so easy to get started! Our team will take care of the entire setup process for you, ensuring that Patient Alerts integrate seamlessly into your workflow. With everything handled by us, you can focus on providing the best care while benefiting from improved communication and efficiency.
Contact us today!
Email: preadmit@alturahealth.com.au
Phone: (02) 9632 0026
We are continuously improving FYDO, and the new Patient Alerts feature is no different! Upcoming enhancements include:
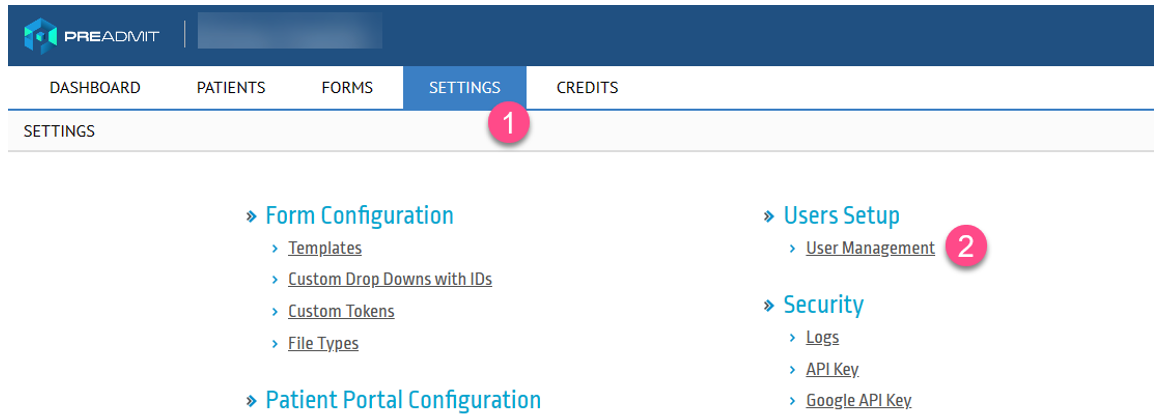
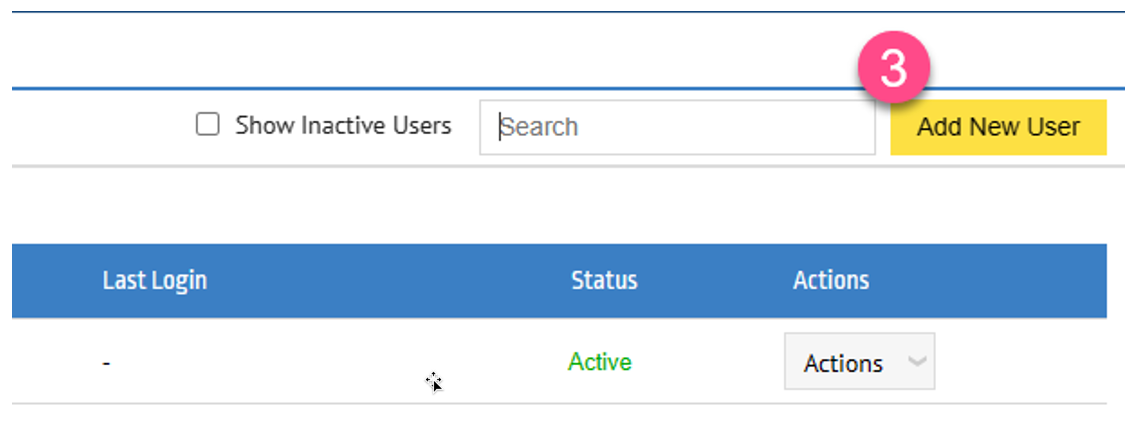
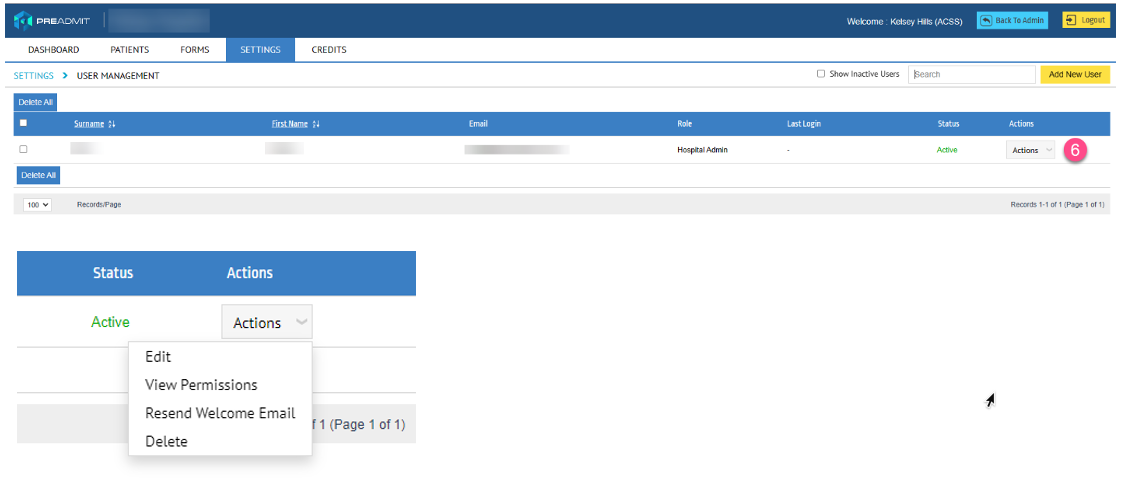
User Management gives the ability to add users, delete users & change their user permissions. Only the Hospital Admin has access to User Management


All new Patient Alerts can now also be viewed from the Preadmit Holding Bay! Simply click the flag icon:
